
How to Turn Digital Photography into Physical Wall Art
By Contagion Media
Vogue defines “lived-in interiors” as one of the hottest design trends, highlighting the value of personalization, storytelling, and curated touches. Decorating has shifted from picture-perfect looks to rooms that look used and lived-in, with touches like bookshelves filled with favorite books, travel mementos, and photos of special moments spent together. While the average homeowner may not be a whiz at analog photography, taking digital photos is a popular hobby: the average person in the U.S. takes around six to 20 photos a day, and smartphones alone account for around 94% of all photography worldwide. Photography is a powerful way to personalize your interiors, with moments of joy captured in photographs making perfect starting points for discussion and storytelling. To ensure your best photos don’t stay stored in your camera or phone, follow a few strategies to turn them into long-lasting wall art.

Photo by snowing12 | Adobe Stock
Aligning Your Photographs with Your Design Choices
Home interiors can vary widely, with some designers choosing maximalist designs and others opting for clean, minimalist looks. Choosing photographs and frames that match your style can help create a cohesive feel in your space, whether it's your living room or bedroom. For instance, minimalist rooms in neutral tones with minimal furniture pair beautifully with the coolness of silver frames and black-and-white or light-colored photographs, while homes with a biophilic design style work wonderfully with rustic wooden and ornate baroque-style frames.
Planning Your Frame Layout
If you have numerous photographs you want to exhibit, software such as Canva or Picsart can help you visualize how different frame arrangements will work in your space. Some designers combine several frame sizes and materials to create a busy, personal look, while others utilize layouts such as one large frame flanked by two smaller ones, or three identical frames placed above large pieces of furniture, such as sofas or beds. Pre-designing a layout helps you avoid drilling into walls or buying frames you don’t end up using. It also lets you compare many style, texture, and color options before making a final choice.
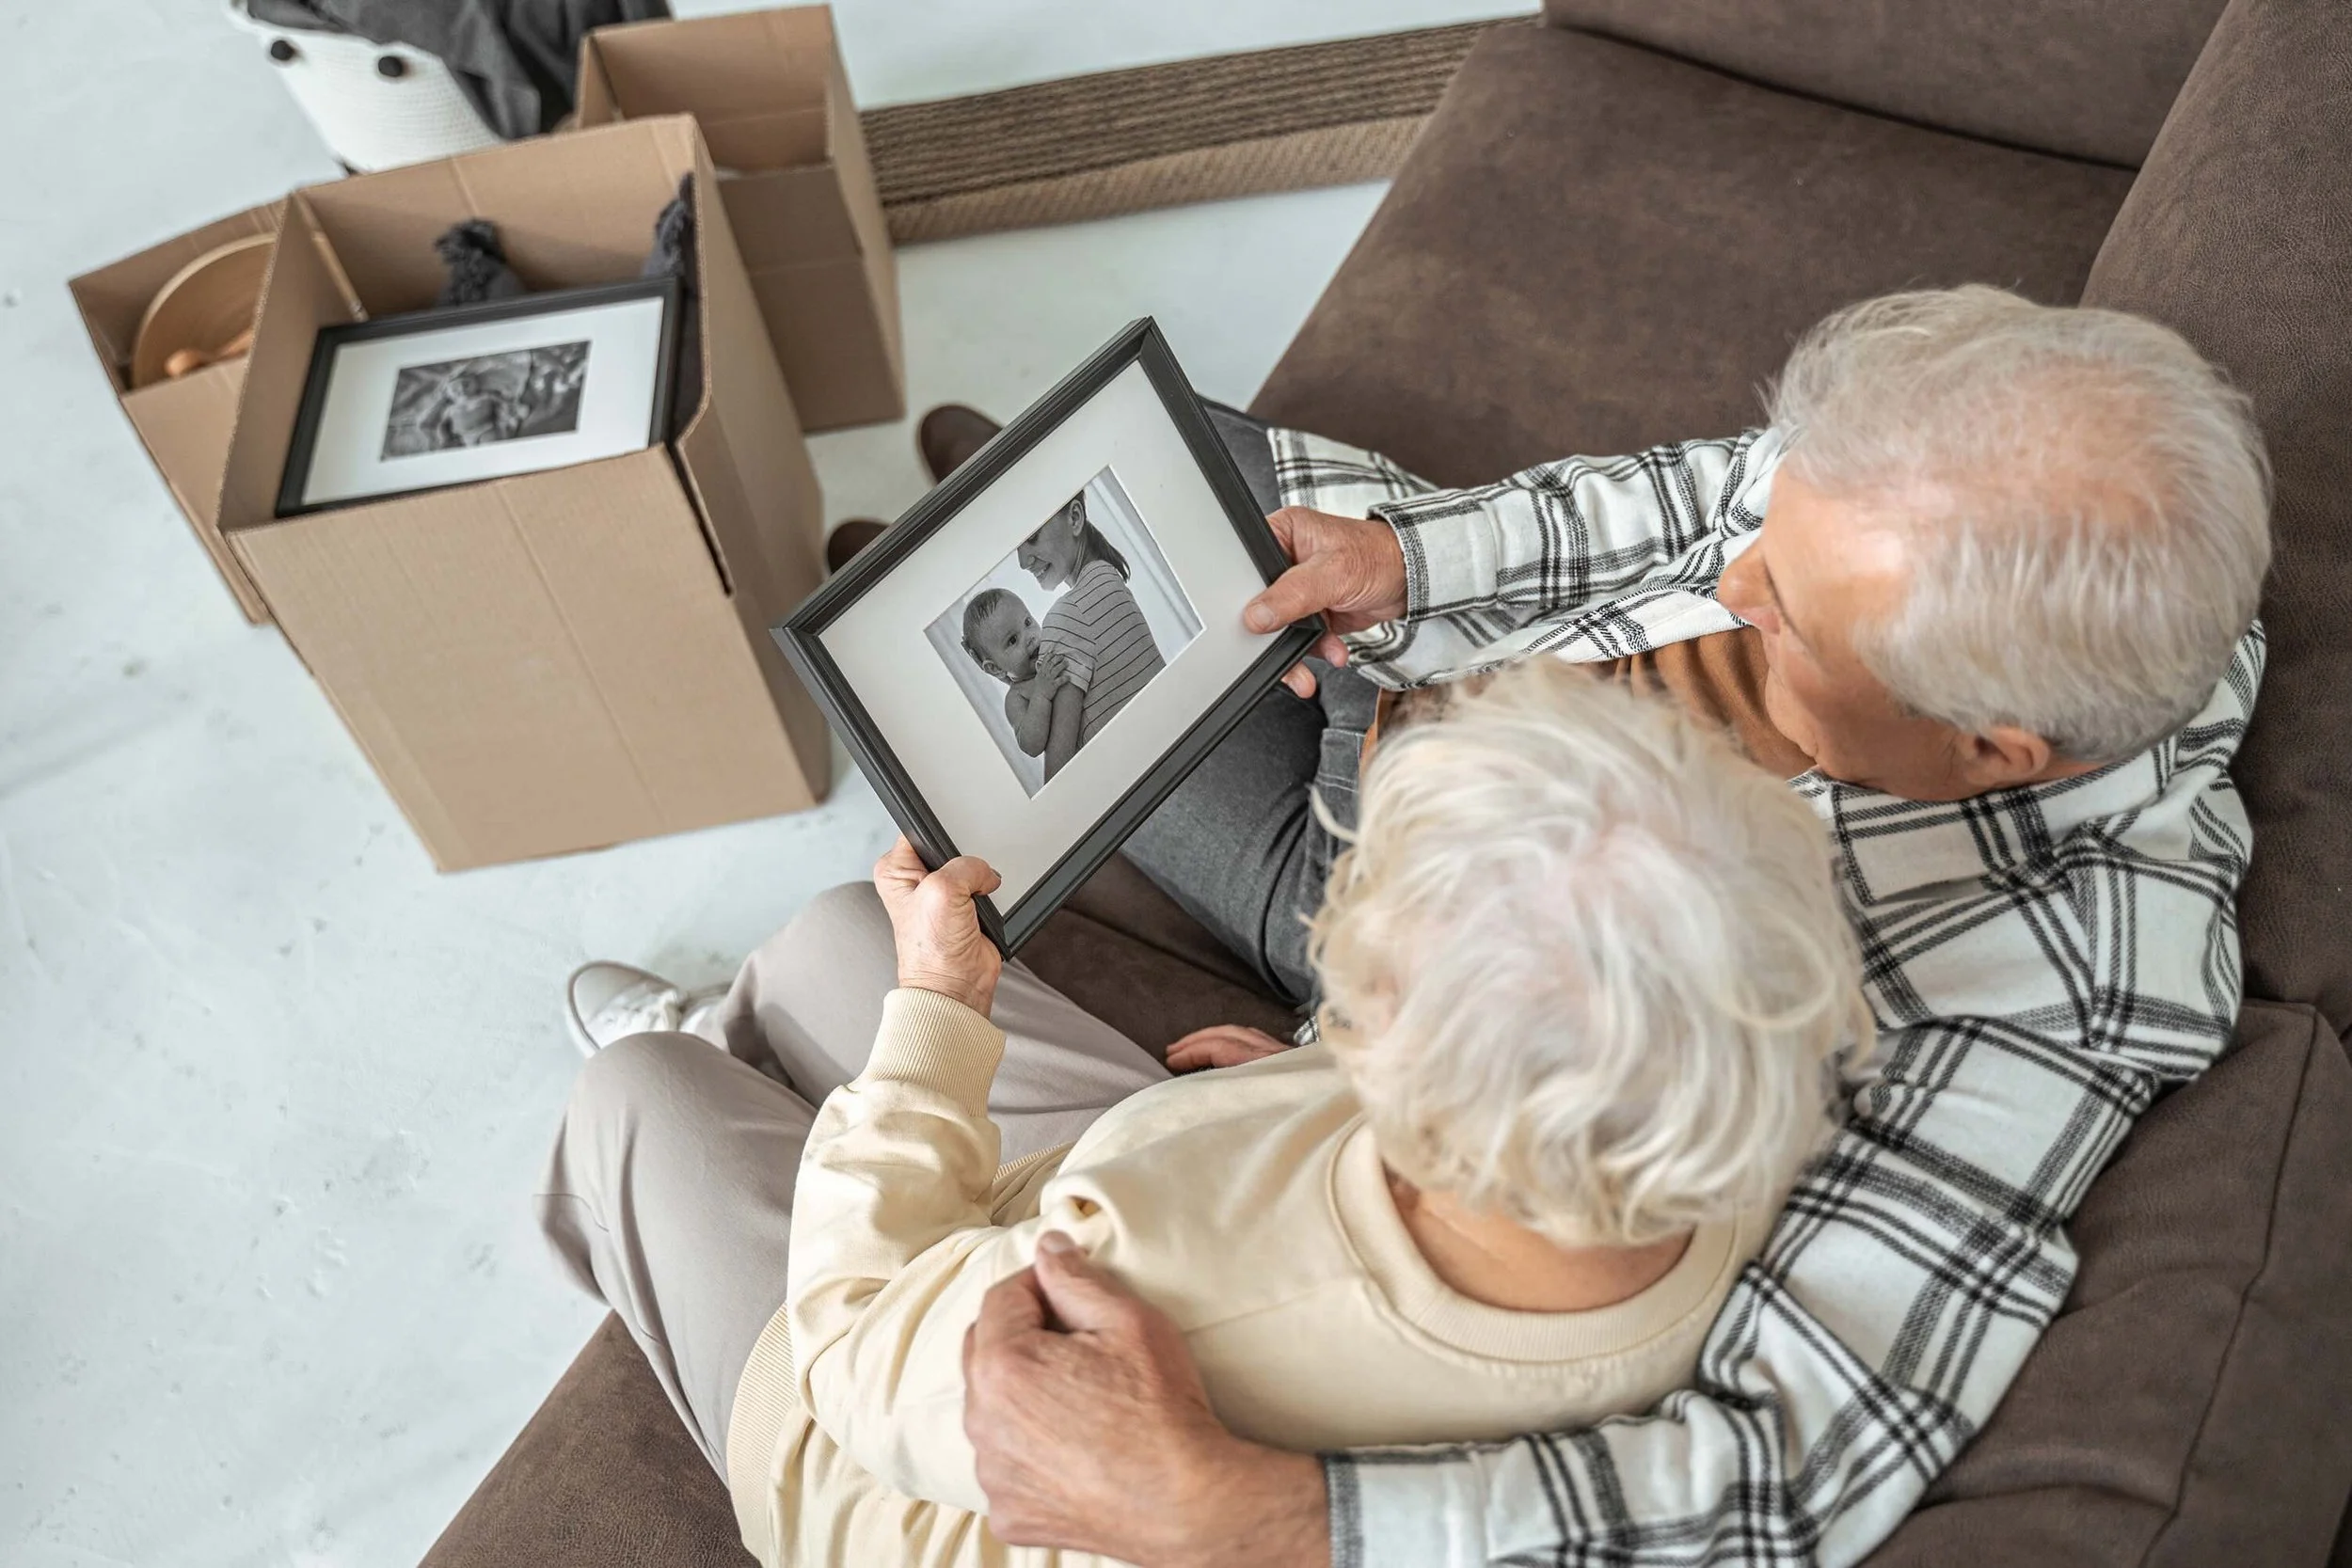
Photo by Yakobchuk Olena | Adobe Stock
Printing at High Resolution
When printing your selected photos, make sure they're high-quality images with a DPI (dots per inch) count that matches the print size. For smaller prints in sizes like 4x6 and 5x7, which may be viewed up close, 300 DPI is ideal. For medium prints around 8x10 and 11x14, viewed from arm’s length, 200-300 DPI is good. For large posters or wall art measuring 16x20 or 24x36 (or bigger), viewed from several feet away, 150 DPI may be sufficient. Test the look of printed photos by viewing them in Photoshop or other editing software. If, when you zoom in, images look blurred or pixelated, it’s a good sign that the image needs a higher resolution. It also helps you calculate how many pixels you need. Use the formula: Pixels required = print size in inches x DPI. For instance, if you are printing a 20x30 photo at 200 DPI, you would need 4000x6000 pixels.
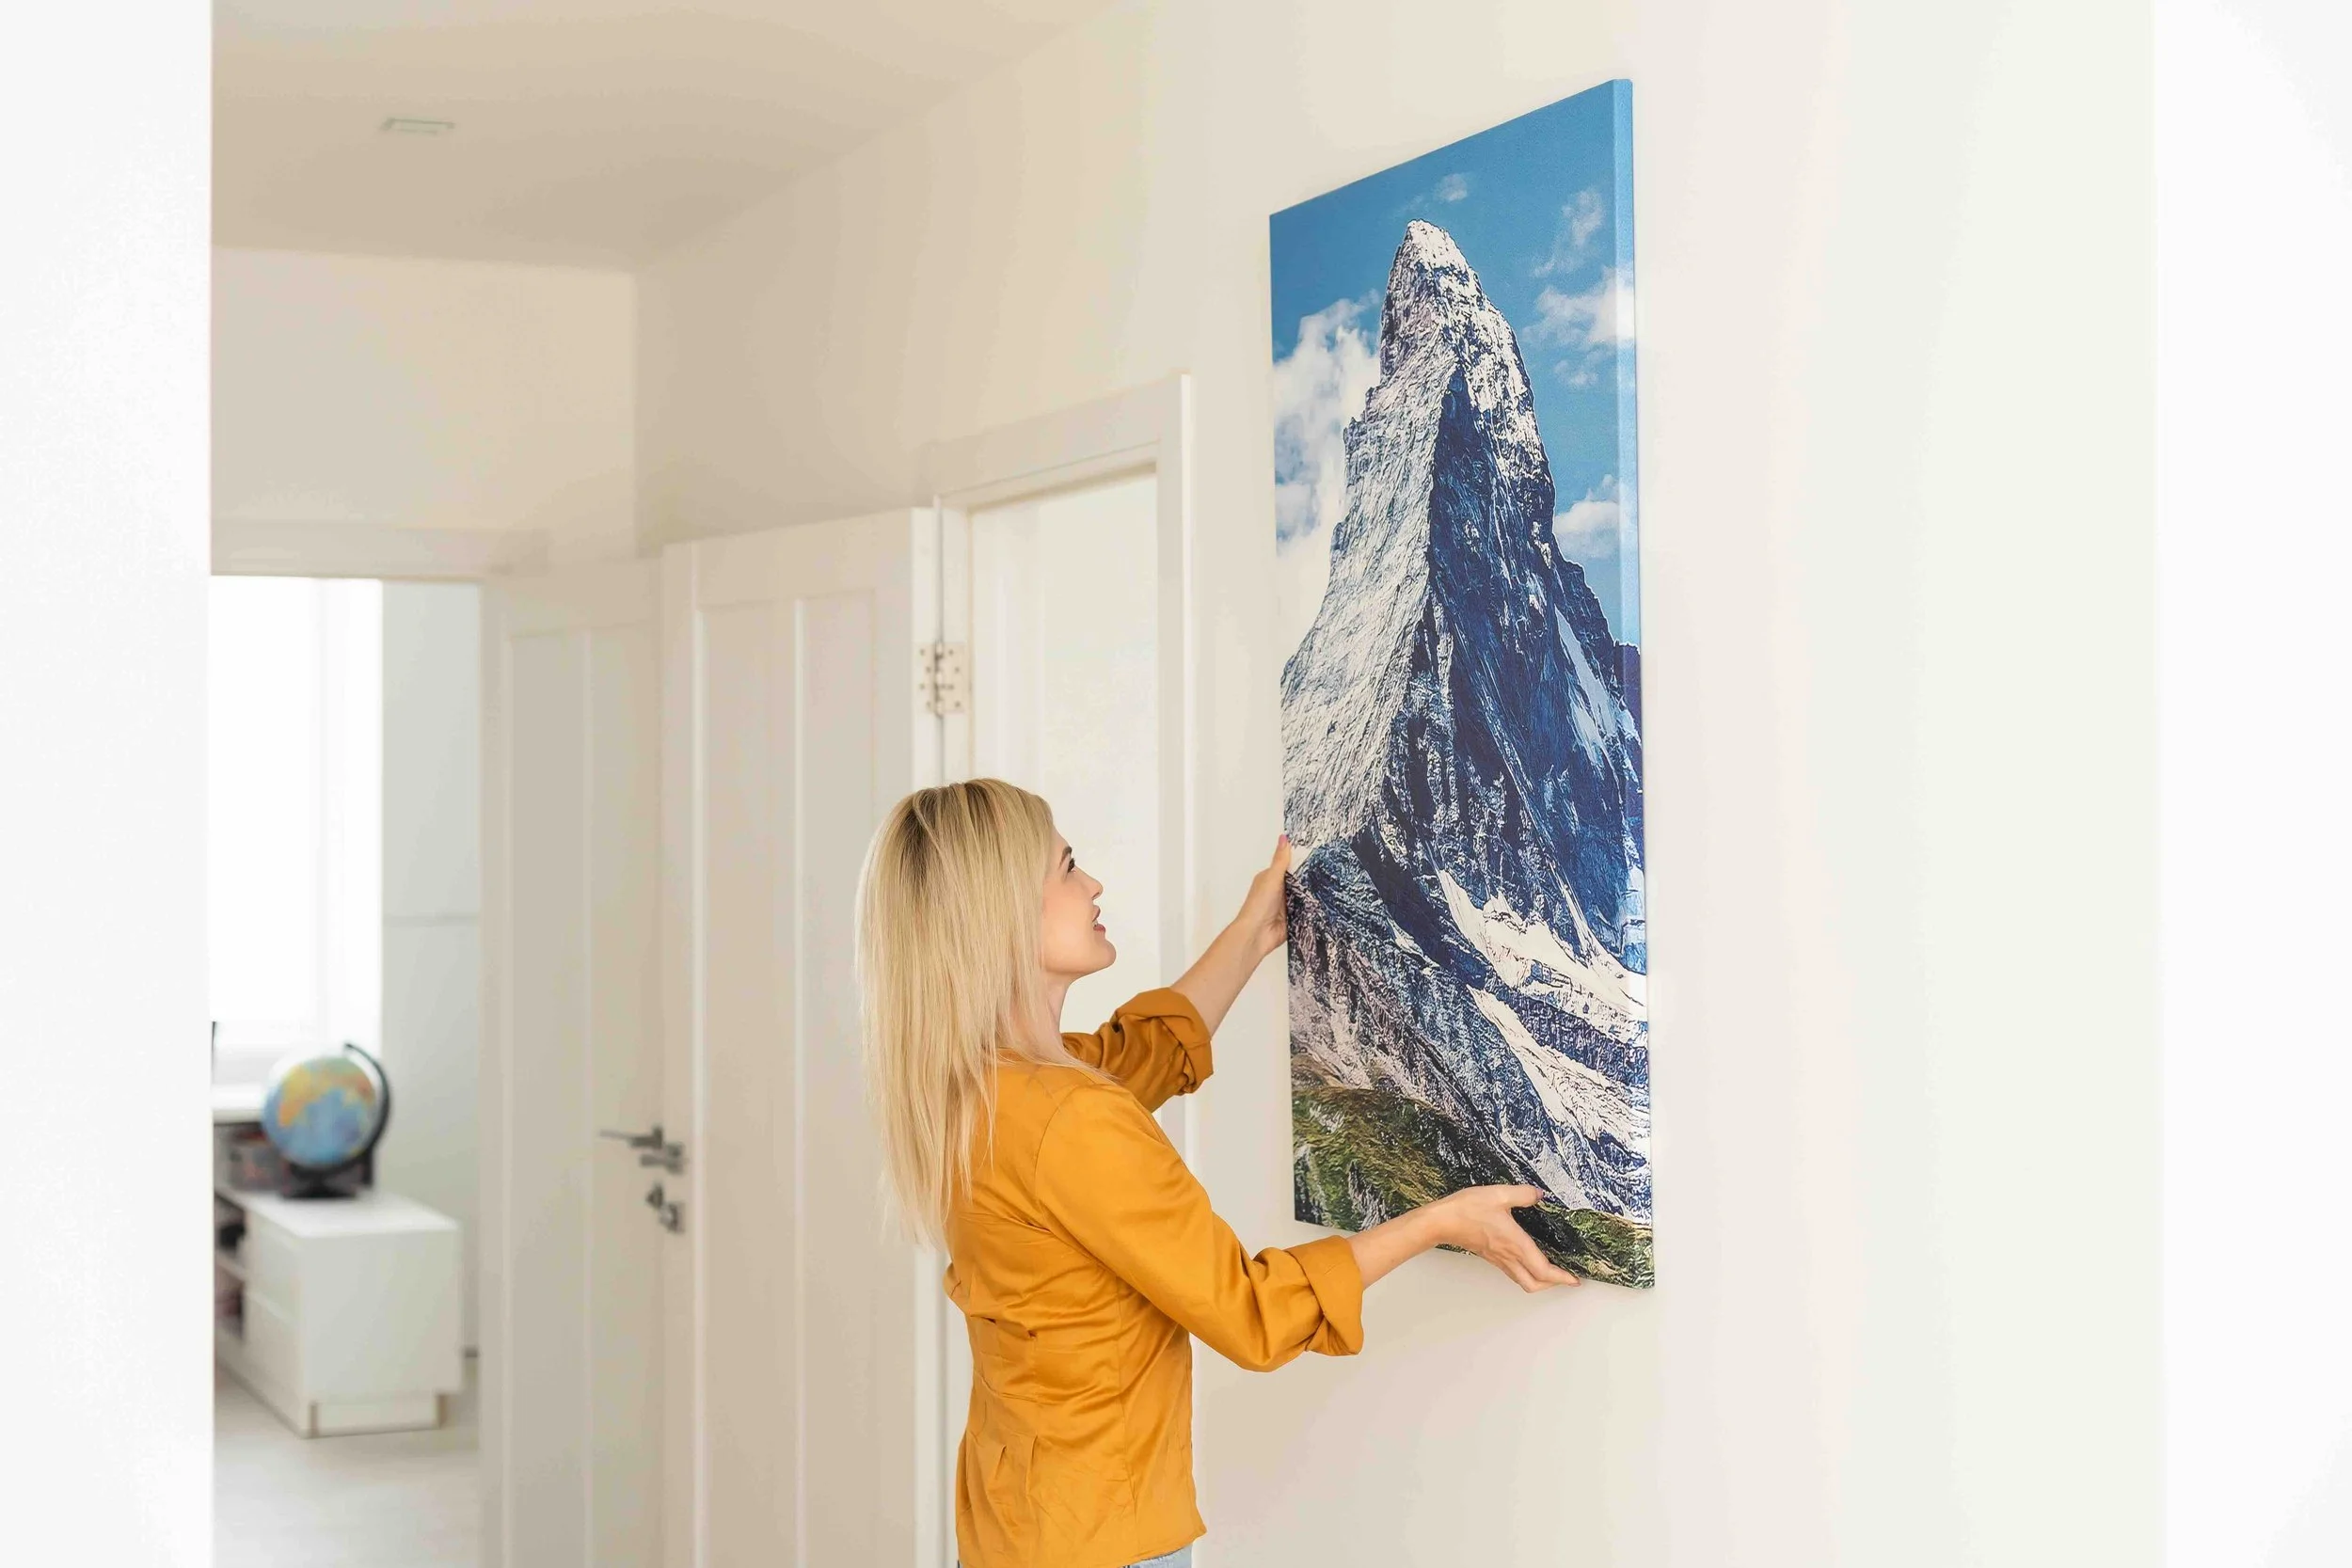
Photo by Angelov | Adobe Stock
How to Hang Your Photographs
Once you have your layout and framed photographs, it’s time to hang them on your wall. Center your arrangement at eye level (around 60 inches from the floor) and use a system that suits your wall type and frame weight. For instance, for light frames on drywall or plasterboard, adhesive strips, thin picture wire (with two small hooks), or small nails will be enough. For solid brick or concrete walls, consider small masonry nails or light-duty wall plugs with screws. For heavier frames over 3lb, you may need toggle bolts or heavy-duty cavity anchors for drywall, or heavy-duty masonry anchors for solid walls. If you are using expensive frames, consider enlisting a framing specialist or carpenter who can recommend the best attachment system for your frame and wall type.
Final Thoughts
Photographs are a beautiful way for homeowners to share their stories and memories with visitors and loved ones. Displaying them on walls starts with choosing the perfect photos for your home’s style. Other steps to take include choosing the right frames, planning a layout, and ensuring photographs are printed at a high enough resolution. It also pays to use a hanging system that is sturdy enough to support the frames without damaging the underlying structure.
Published by KBR on September 28, 2026