Neurographic Art: Rewiring Your Brain Through Art! A Step-by-Step Tutorial
By Lea Byrnes
Any artist can tell you that making art is a therapeutic process in many ways. From taking the time to sit down and create to gazing upon a beautiful finished product, art has endless positive effects on our mental health. And in today’s fast-paced and technology-centered world, taking care of our mental health has never been more important.
Photography by AntiD | Adobe Stock
According to a 2023 survey from the U.S. Census Bureau, over 30% of adults in the United States report symptoms of anxiety and depression. Young adults are experiencing particularly heightened negative mental health symptoms. As a result, many people are trying different forms of therapy, including art therapy. Art therapy is one of the fastest-growing mental health professions. It has been helping both children and adults express their emotions and heal from trauma through artistic expression. Neurographic art is one of the latest and most highly rated projects amongst art therapists.
In 2014, Russian psychologist and author Pavel Piskarev coined the term neurography or neurographica, and invented a type of therapeutic art called “Neurographic Art”. Neurographic art has now become one of the most popular forms of art in the world, in both therapeutic and educational settings. It is loved by both children and adults alike, because of its relaxing and simple steps.
What is Neurographic Art?
Neurographic art is a meditative and intuitive artistic process that links the unconscious and conscious mind using brain cells called neurons. In the human brain there are 100 billion neurons and over 100 trillion synaptic connections. When the artwork is finished, neurographic art ends up resembling neurons and cells.

Photography by Mister G.C.| Adobe Stock
By following the steps of neurographic art, it takes you through your emotions and transforms difficult emotions and stress into something beautiful and healing. The process of creating this kind of art is far more important than how the final piece looks. As you create, your brain is encouraged to make new neural pathways and connections surrounding the problematic issues you are facing in your life.
How Does It Work?
The steps to creating a neurographic artwork are so simple; anyone can do it! I’ve taken step-by-step example photos of my latest creation to show you exactly how it works, also including neurographic art samples.
You Will Need:
A piece of paper (at least 8”x10”)
A circular object or objects to trace
Black Sharpie or permanent marker (1 thick and 1 fine-line)
Other miscellaneous drawing/painting materials
Step One
Start by using a thick Sharpie to draw a long, looping line that reaches from one end of your page to the other. Draw this line for about 3-5 seconds, while thinking about something that is currently causing you stress or anxiety.

Design by Lea Byrnes Art
Step Two
Using a circular object like a lid, trace a circle or multiple circles overlapping your line. You may use multiple different sized lids to create smaller and larger shapes. You can also freehand them.
Step Three
Add more overlapping lines and shapes to your paper. Just make sure that your lines go completely to the edge of the paper, and you do not have any lines abruptly ending in the middle of the page. Don’t worry if your lines look a little messy; you can clean them up in the next step!

Design by Lea Byrnes Art
Step Four
Use a fine-point Sharpie for this next step. Wherever your lines intersect, smooth out the edges. You can thicken your entire line up as much as needed to get rid of any harsh edges. Make sure you do this to every single intersection point! Truly take your time with this step, and let it be a therapeutic process of turning all those rough edges into something softer. This is where your piece will start to actually look like the inside of a brain, with neurons connected by synapses.
Step Five
Start decorating! I like to block in each shape with a different color to begin. Alcohol markers are a fun, easy way to color in your design. You may also consider using watercolors.

Design by Lea Byrnes Art
Step Six
Continue decorating your design with other materials, such as Posca paint pens, colored pencils, and thin Sharpies. For my neurographic drawing, I chose to create fun, simple patterns that were relaxing for me to draw.
Add some finishing touches and… You’re all done!

Image by Lea Byrnes Art
Neurographic art has so many benefits. It can help ease the stress of countless different issues, including anger, addiction, anxiety, chronic pain, grief, and depression. Through the use of mindfulness and awareness, you are able to channel that pain into something beautiful. As you get lost in the drawing process of neurographics, those difficult emotions start to feel more manageable and you begin to enter a calmer state of mind.
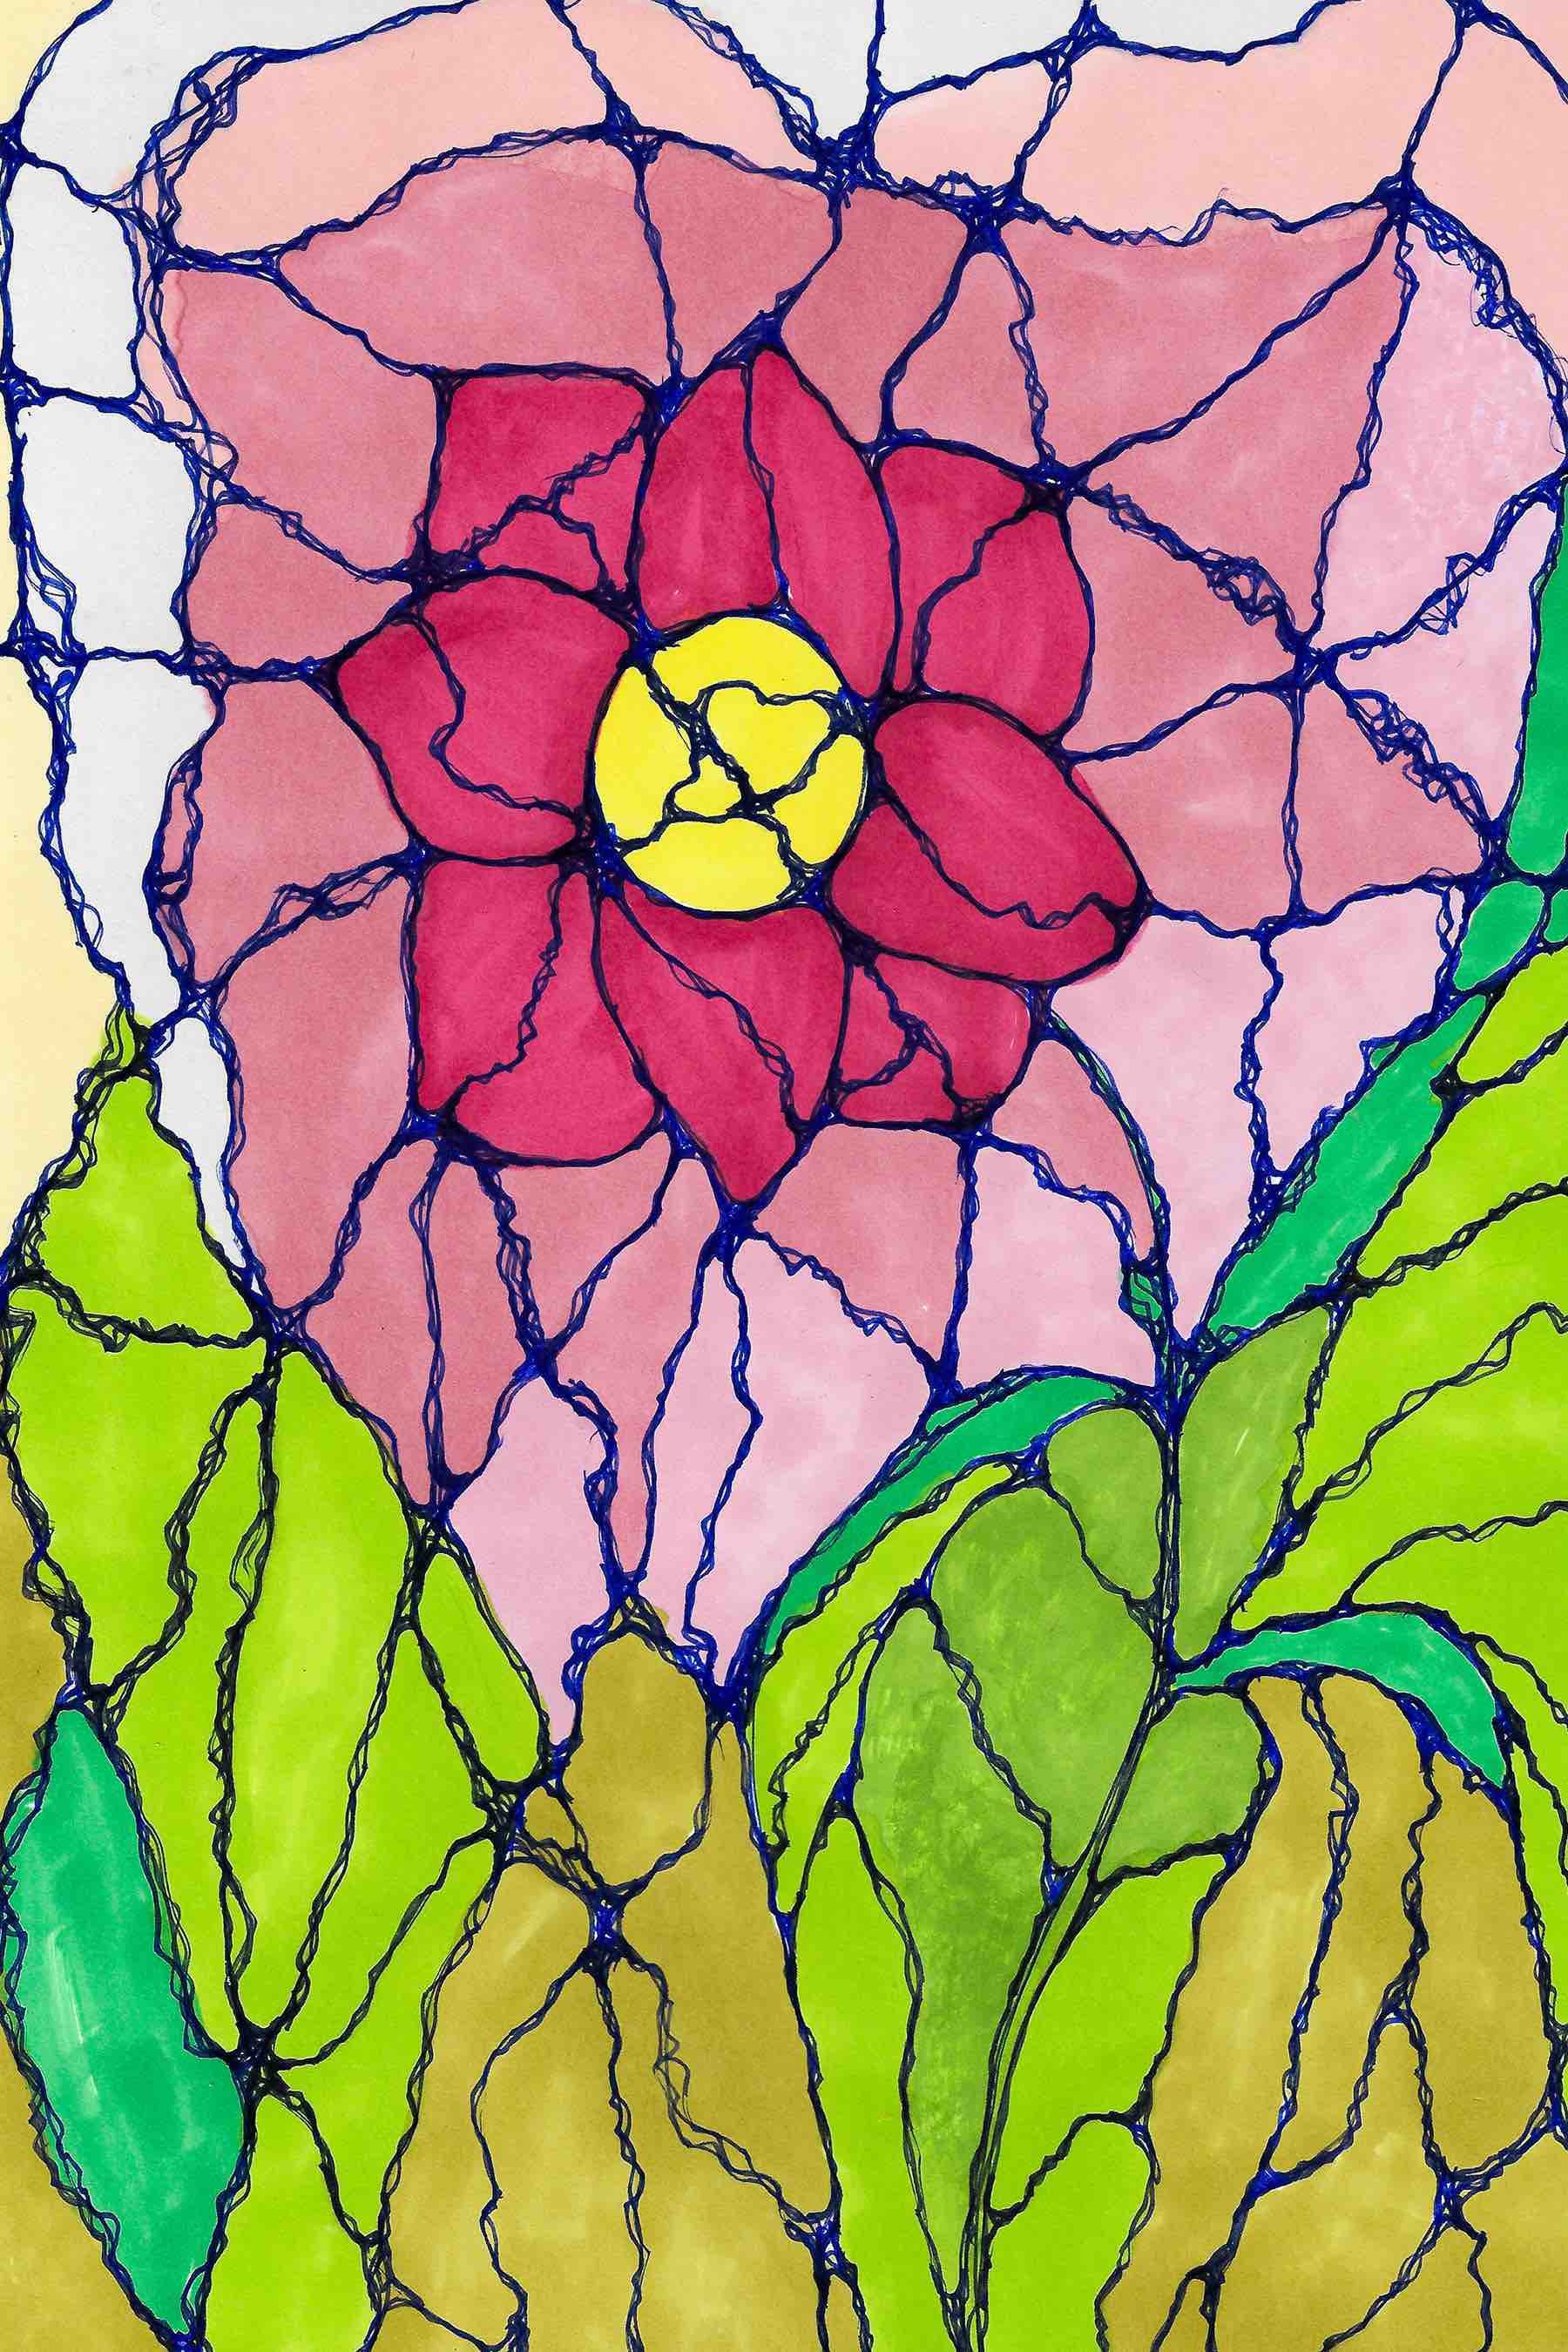
Another thing I love about these artworks is that there is no limit to how creative you can get with them! They can be super simple or very detailed. You can even choose to do a realistic painting underneath your neurographic lines, like I did with this orchid piece:

Design by Lea Byrnes Art
Neurographic art therapy is such a fun, easy way to create a stunning piece of art that brings much-needed peace and quiet to our busy, troubled minds. You will be surprised at how easy and relaxing this brain art process truly is! Next time you’re feeling stressed out, be sure to grab a Sharpie, get relaxed, and give this effective technique a try. Enjoy creating!
Edited by KBR on December 4, 2024
