10 Oil Painting Masterclass Tips — Zero Gatekeeping Involved
By Yosh
Isn’t it exhausting? You are working so hard on a piece, then suddenly you just get stuck? And then you end up spending time looking for a perfect solution, only to get lost in the endless amount of generic YouTube ‘tips and tricks’ that are surface-level. That didn’t solve your problem. Don’t stress! We have scoured the internet, asked the experts, and compiled our 10 best oil painting tips. We outline the common issues that artists at every level face and provide solutions to help make the painting process easier.
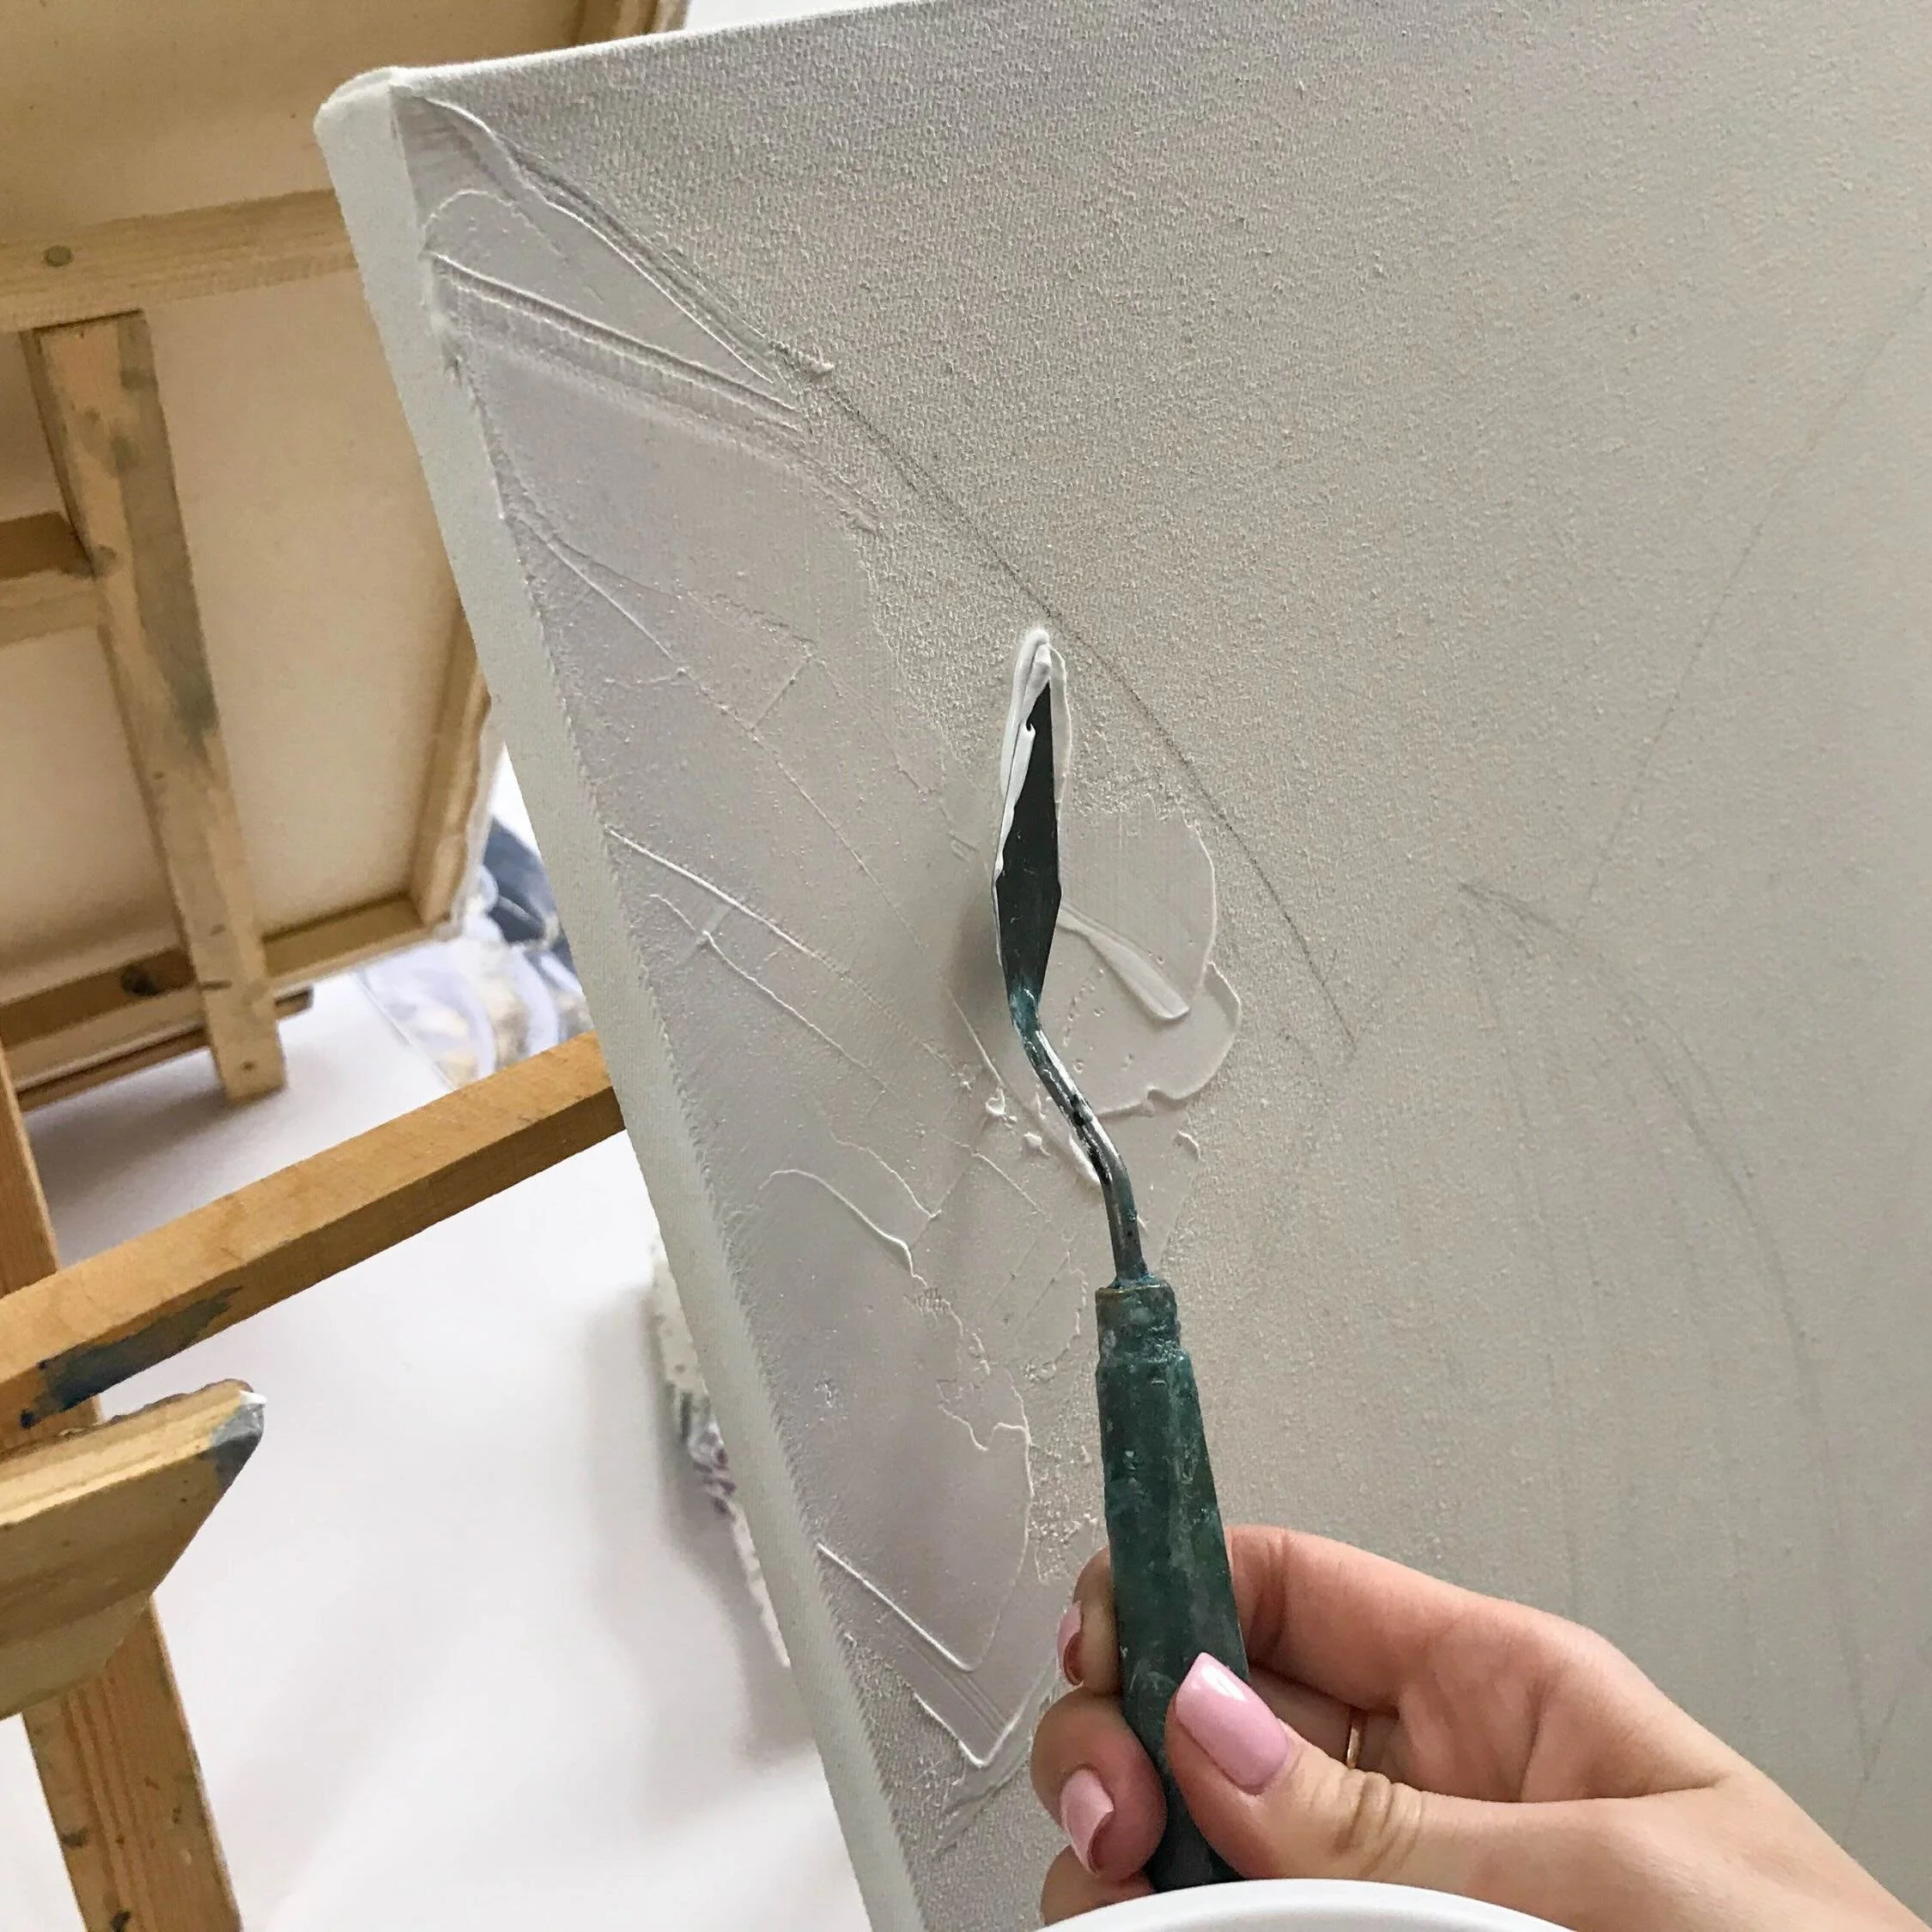
Photo by @kirill-bolbatunov | Canva
Tip 1: Tone Your Canvas First
Working on a white canvas is more than just intimidating; it skews the colors and values of your painting from the beginning. A better approach is to tone the canvas with a thin wash layer of Burnt Umber, Ultramarine Blue, or Raw Sienna. Mix a small amount of paint with odorless mineral spirits to create a thin layer that dries quickly. Using a wash establishes a middle-value base and allows a more natural and cohesive foundation for your work. You can tone your canvas with any color you prefer, but most painters stick with earth tones.
Tip 2: Use Clove Oil to Slow Drying

Photo by Formatoriginal | Adobe Stock
Oil paint is well known to have a slow drying time, but that does not stop it from drying up between paint sessions. Avoid wasting expensive paint by using Clove Oil to extend the drying time of your oil paint. Oil behaves differently when it has the correct amount of moisture, and when clove oil is used effectively, you can prevent your paint from fully drying out between sessions. Start by adding small amounts, as it should be used sparingly. A few drops will go a long way.
Tip 3: Store Your Palette in the Freezer
This is such an underrated tip when using oil paints. Place your paint brushes and your palette in the freezer! I know it sounds a bit unorthodox, but it keeps your paint and brushes from drying out. Cold temperatures slow the oxidation process, allowing the paint to stay usable for several days longer. No one likes scraping dried oil paint from their favorite brushes. Before putting your brushes or palette in the freezer, make sure to wrap them in plastic wrap or place them in a ziplock bag. It keeps the moisture in and keeps the inside of your freezer from looking like a Jackson Pollock painting.
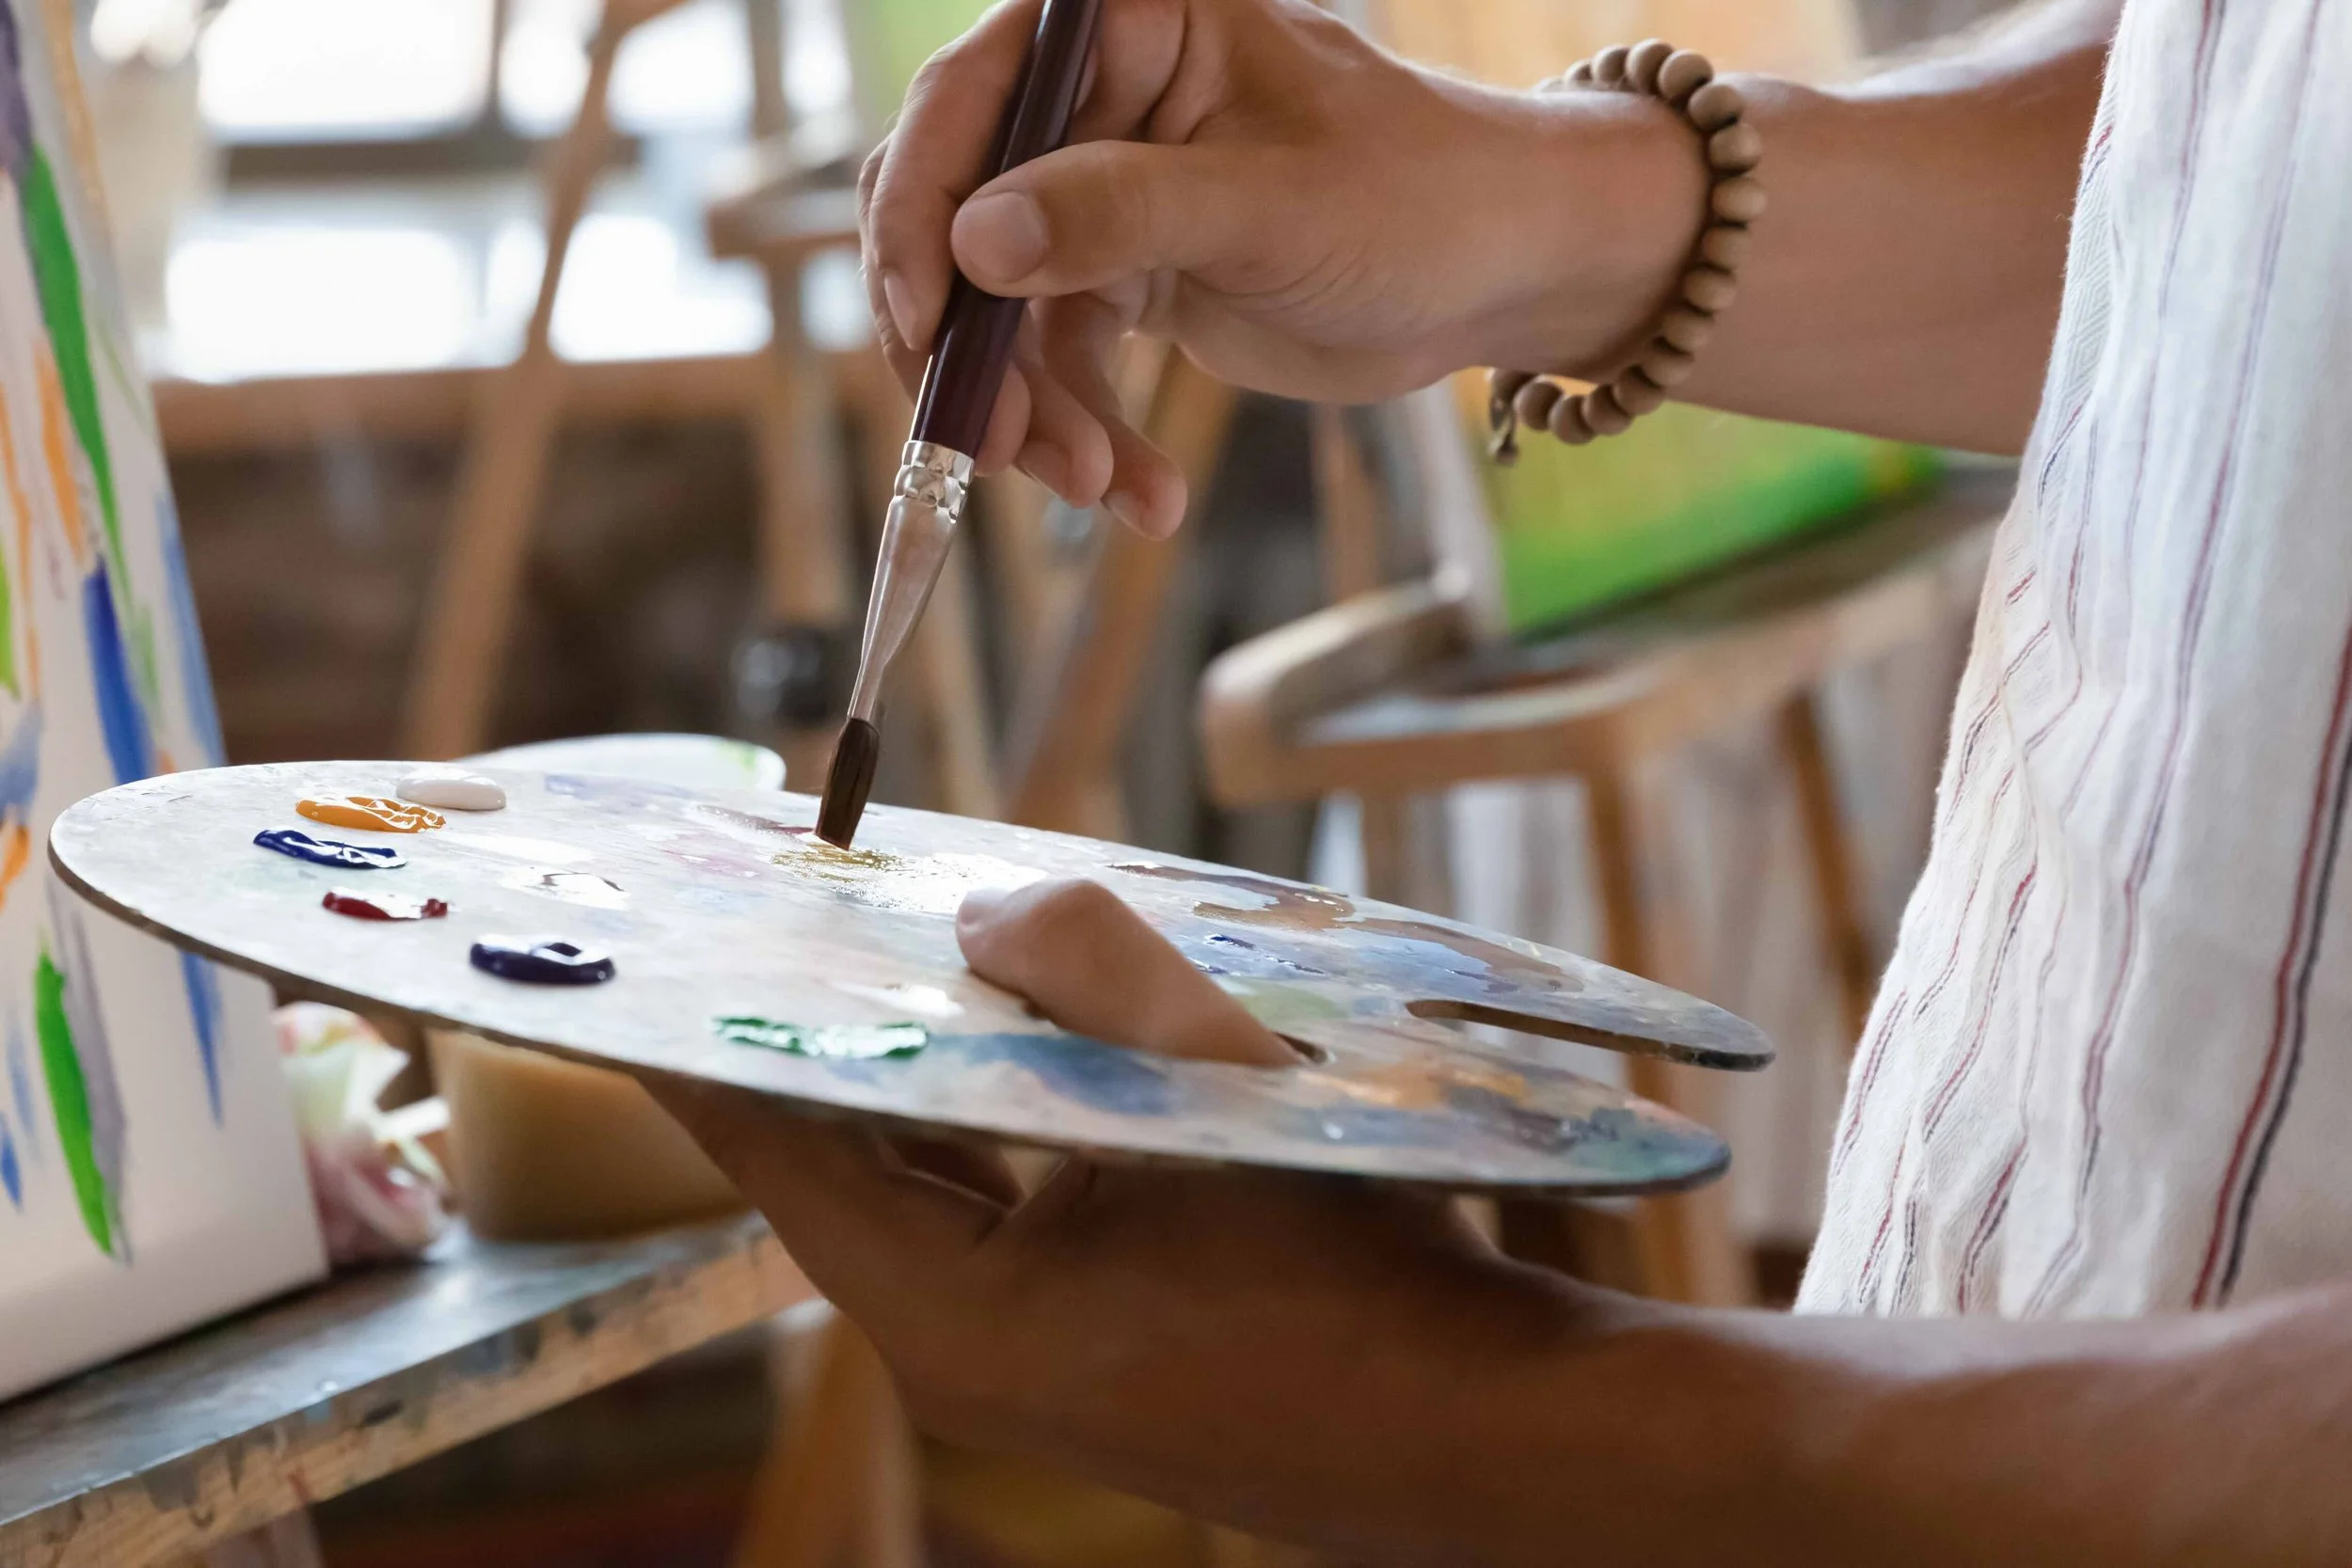
Photo by fizkes | Adobe Stock
Tip 4: Follow “Fat Over Lean”
The first layer of paint will be the base for everything after, which is why you should keep it “lean.” This means your base layer should contain a solvent that thins your paint, such as Odorless Mineral Spirits. Some solvents produce toxic fumes, so it's best to use a non-toxic solvent and have a well-ventilated workspace. As your painting progresses in layers, gradually increase the oil content. If you were to put a higher-solvent-content layer of paint on top, it could lead to the paint cracking and falling off. Some artists stay away from solvents altogether, but this can lead to having wet oil paint stuck under the dry top layer, which can also lead to cracking and a very long drying time.
Tip 5: Use a Limited Palette
Your choices of color should match your comfort level. Are you comfortable with a large number of colors, or does having five different greens on your palette cause you to stall? It can be a best practice to limit yourself when it comes to palette size. Having too many color choices can become overwhelming for beginners.
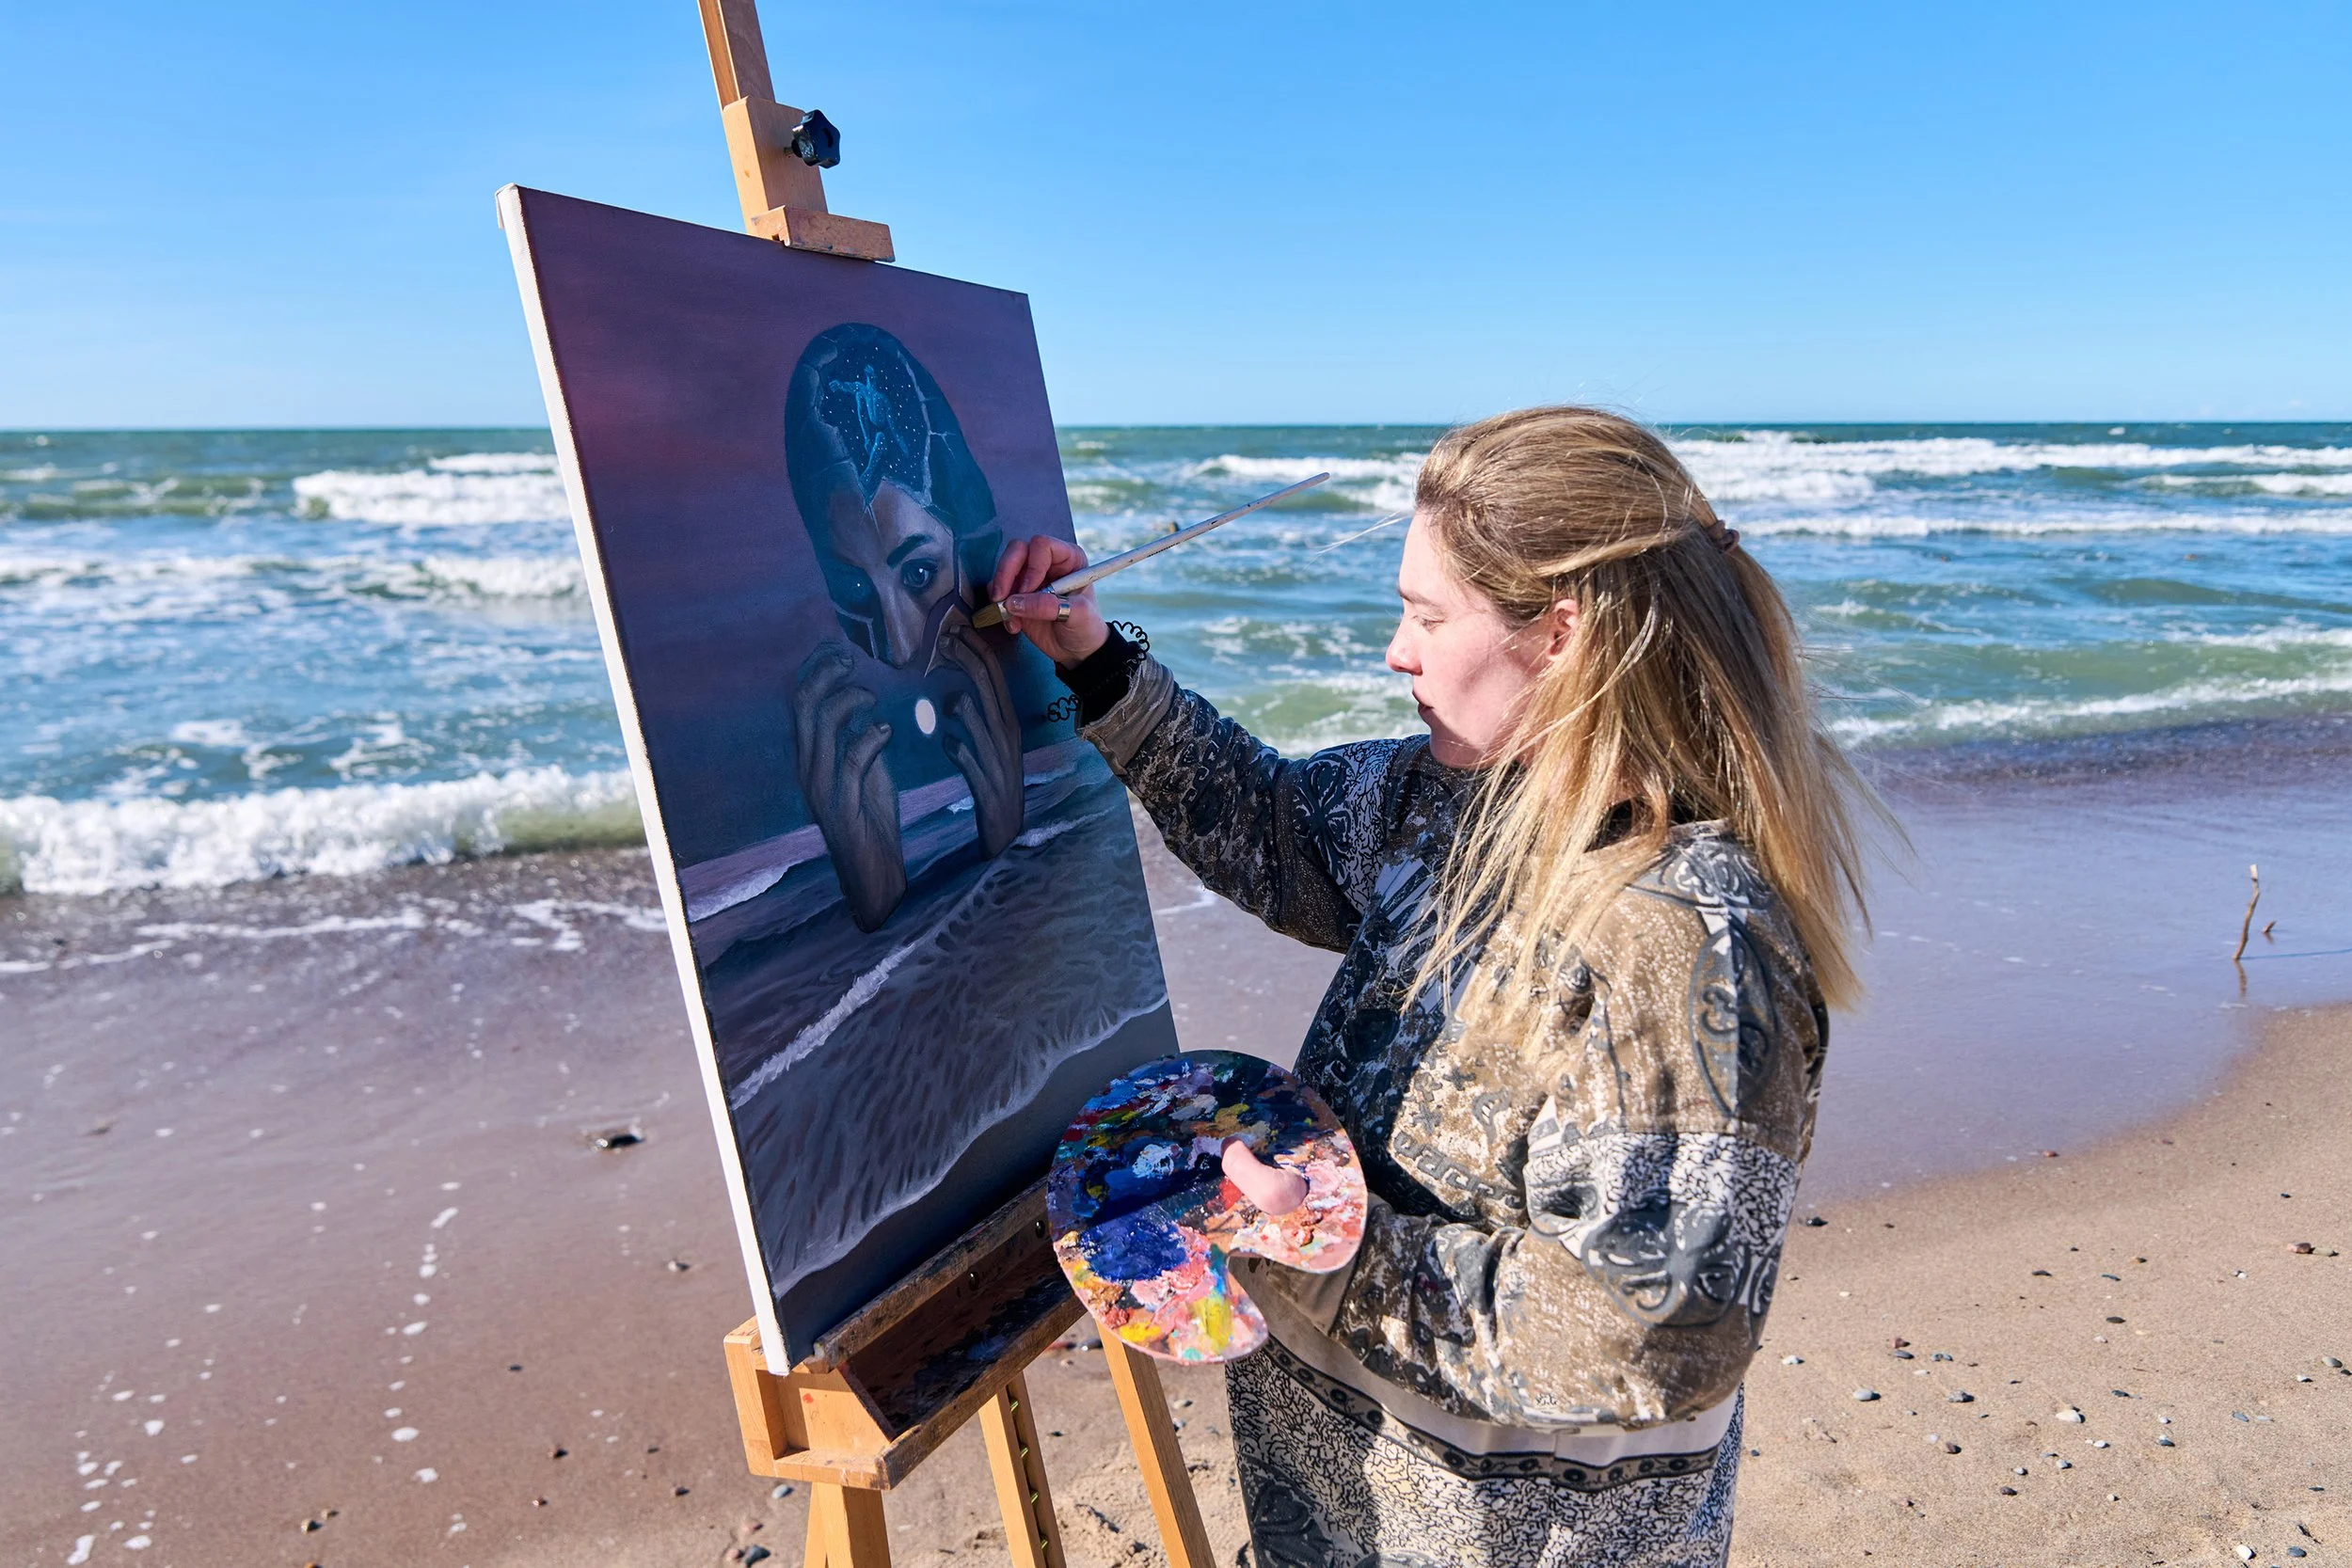
Photo by TRAVELARIUM | Adobe Stock
If you don't know where to start, here is a great five-color palette to begin with:
Yellow Ochre: A muted, earthy yellow.
Burnt Sienna: A warm, reddish-brown.
Ultramarine Blue: A deep, rich blue that creates beautiful greens when mixed with yellow.
Alizarin Crimson: A cool, transparent red for deep shadows.
Titanium White: Essential for highlights and adjusting opacity.
There are numerous palettes to choose from, so don’t get lost trying to find the ultimate setup. Simplifying your palette makes it easier to understand color mixing and how each color functions in a painting. Your understanding of value will grow from limiting your palette, which is often more important than the colors themselves.
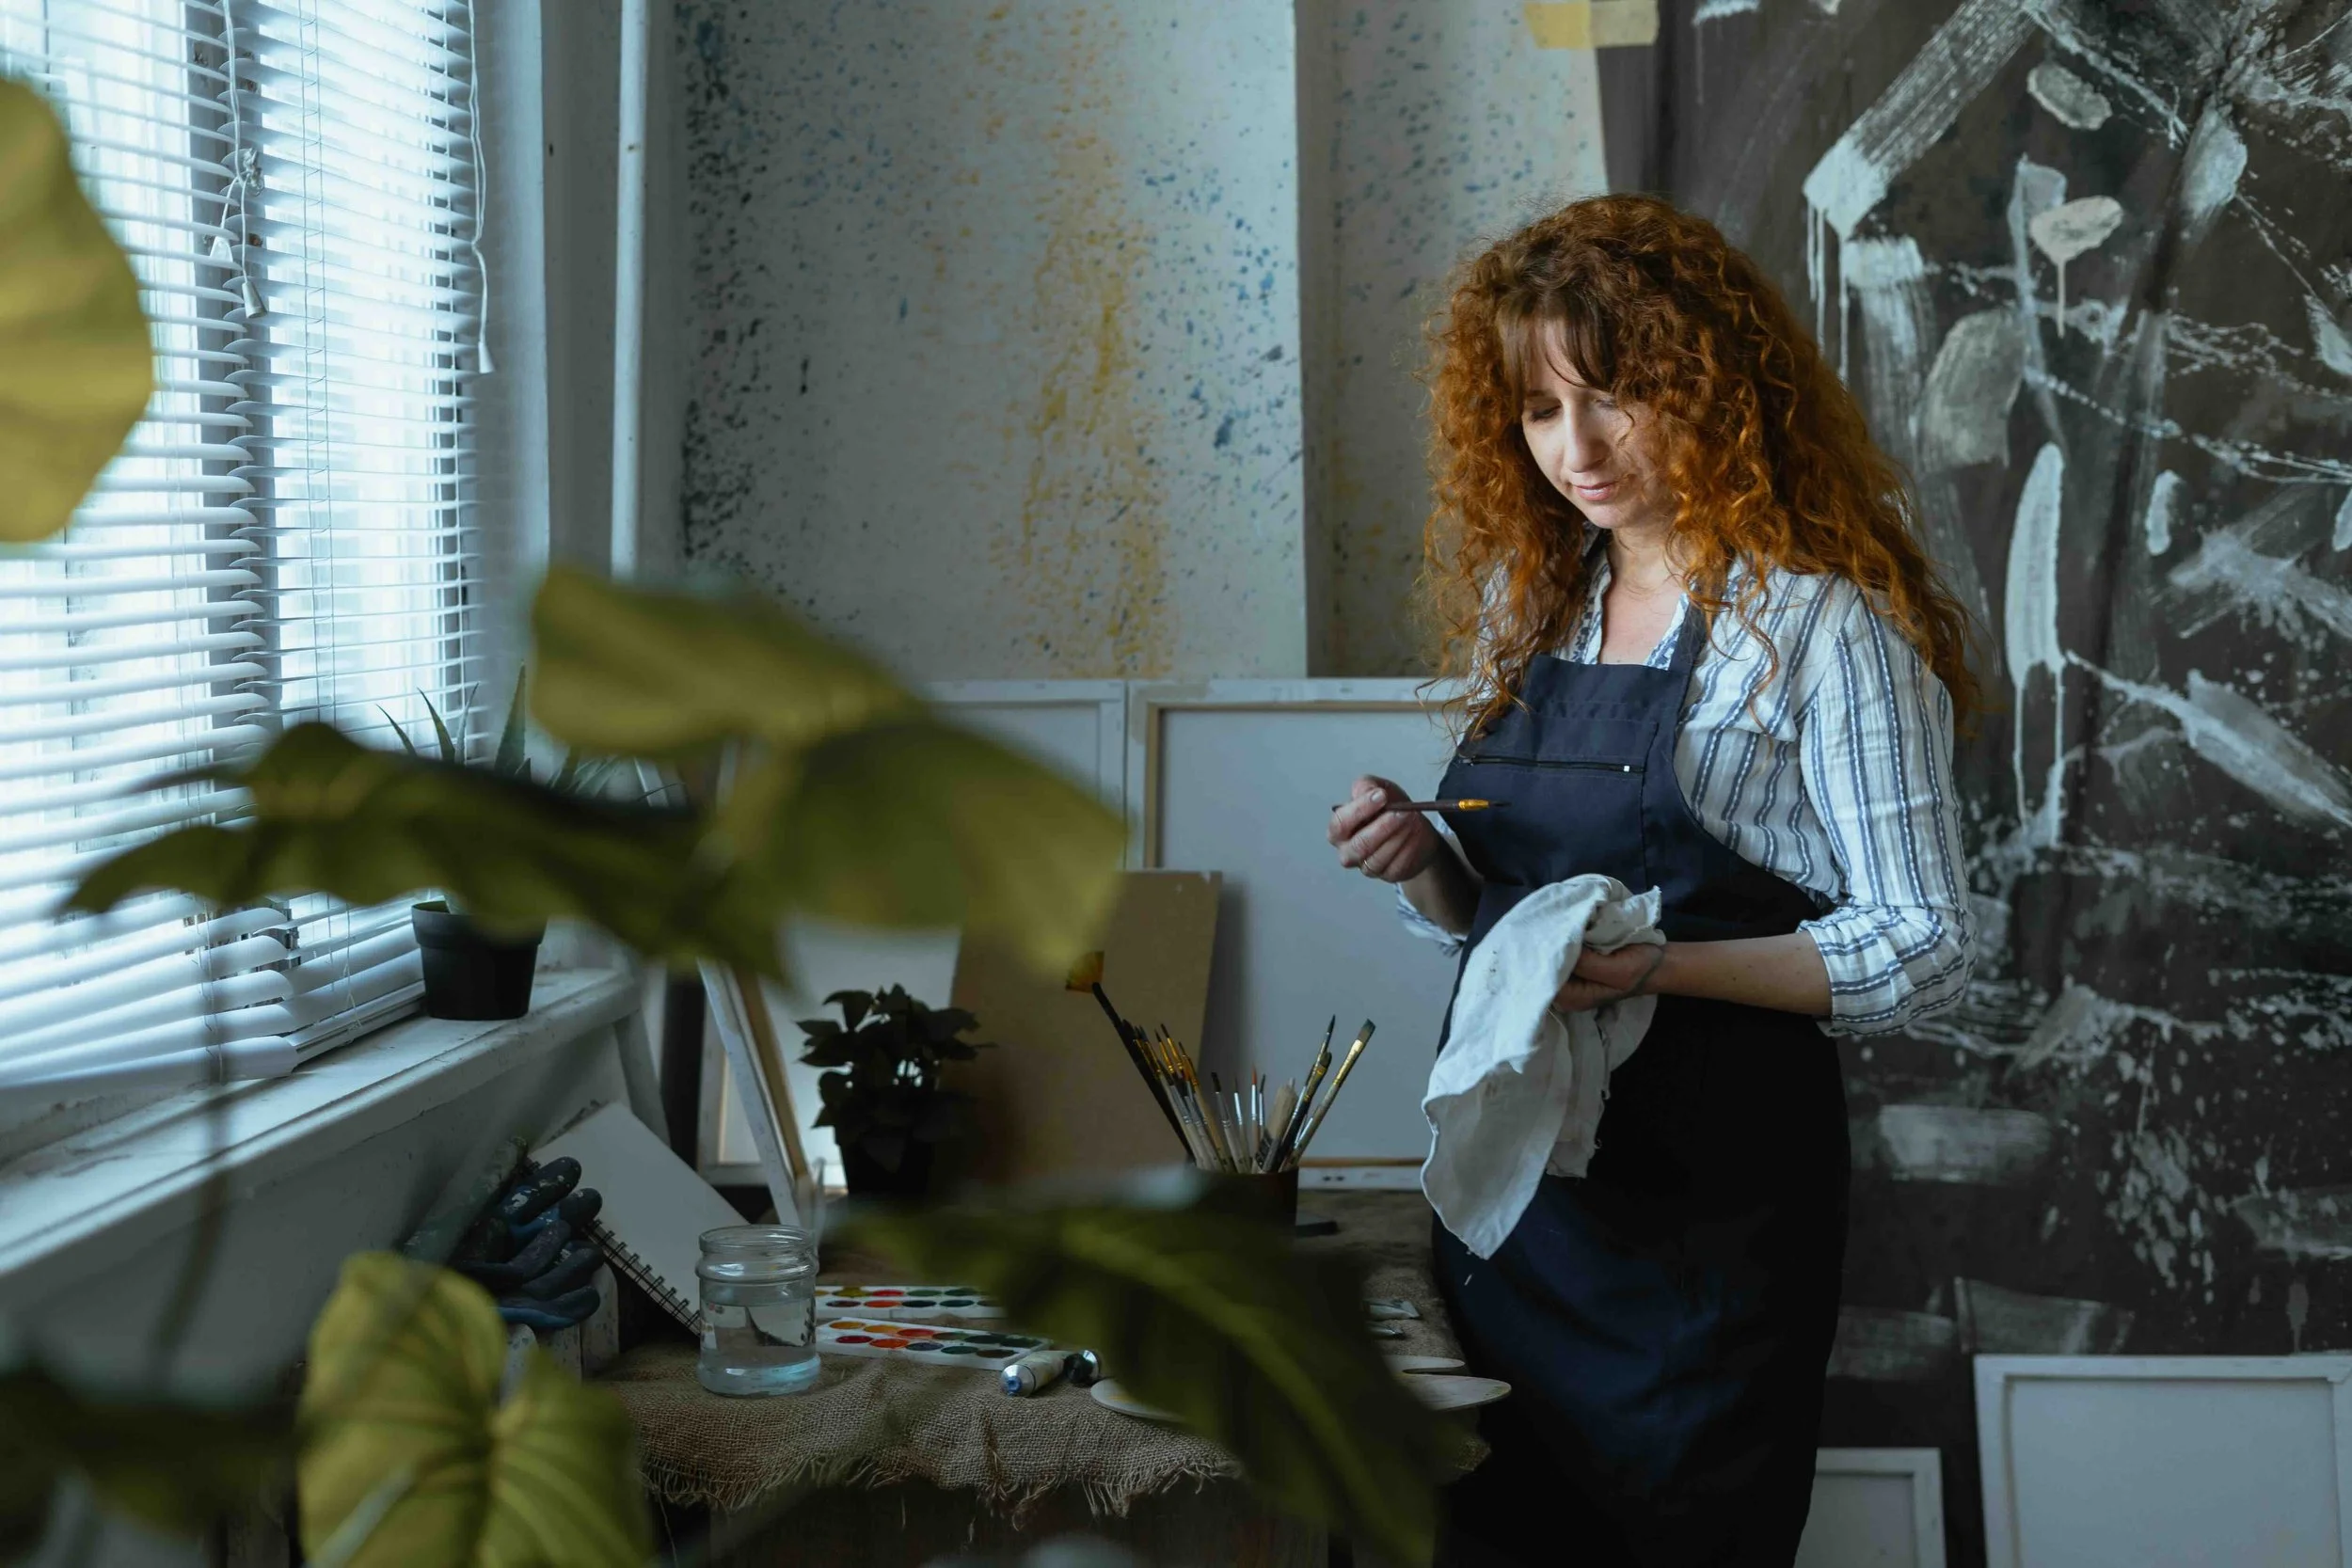
Photo by Andrii Lysenko | Adobe Stock
Tip 6: Use Walnut Oil for Brush Cleaning Mid-Session
Keeping your brush clean can be a chore, but IT’S SO WORTH IT. Oil paint behaves very differently from acrylic. Acrylic paint can dry on your brush in minutes, while oil paint stays workable much longer. That being said, I have ruined several of my brushes due to neglect and forgetfulness. It's a great habit to clean your brushes and maintain the condition of the bristles with linseed or walnut oil, helping your brushes last a lot longer. Neglected brushes can lead to hard bristles, dried paint, and disfigured brush heads.
Tip 7: Keep a “Mistake Brush”
It's a simple hack that saves so much time and worry. A mistake brush is a dry brush that you use specifically for incorrect paint strokes or removing excess paint from the canvas. A dry brush can “lift” an incorrect color off a canvas much easier than a loaded brush. For a bigger mistake, use a palette knife to scrape away the paint. It allows for a clean slate, though you'll need to blend the colors again after removing the paint. Using a dry ‘mistake brush’ takes away some of the fear of making mistakes.

Photo by DisobeyArt | Adobe Stock
Tip 8: Paint Thin Layers First
We touched on this a little back in Tip #4, but starting with thinner layers of paint is a great practice. The term for your beginning layers is called ‘blocking.’ The goal is to lay out your design and composition without applying a large amount of paint onto the canvas. By keeping your base layer thin, your later layers and finer details won't be muddied by the paint underneath. It's frustrating watching your painting go from bright colors to a mix of browns, all because there is too much paint on the canvas to manage. It becomes easier to fix mistakes or make changes earlier on with a lean workflow. Don’t worry—you can still add those big globs of paint details at the end. Just save them for the final pass to avoid issues with drying time.
Tip 9: Use Medium Sparingly
Whether you are adding oil to lengthen the drying time or adding a solvent to speed it up, be cautious with how much you add. Finding the correct amount becomes a learned skill that changes depending on your preference. Also, don’t stress over the idea that you need to add a medium to your work to be an oil painter. This process develops with you as an artist, and you figure out your ratios as you go. Start by adding a few drops until you find your desired consistency. If it all sounds too complicated, paint straight from the tube is often all you need.
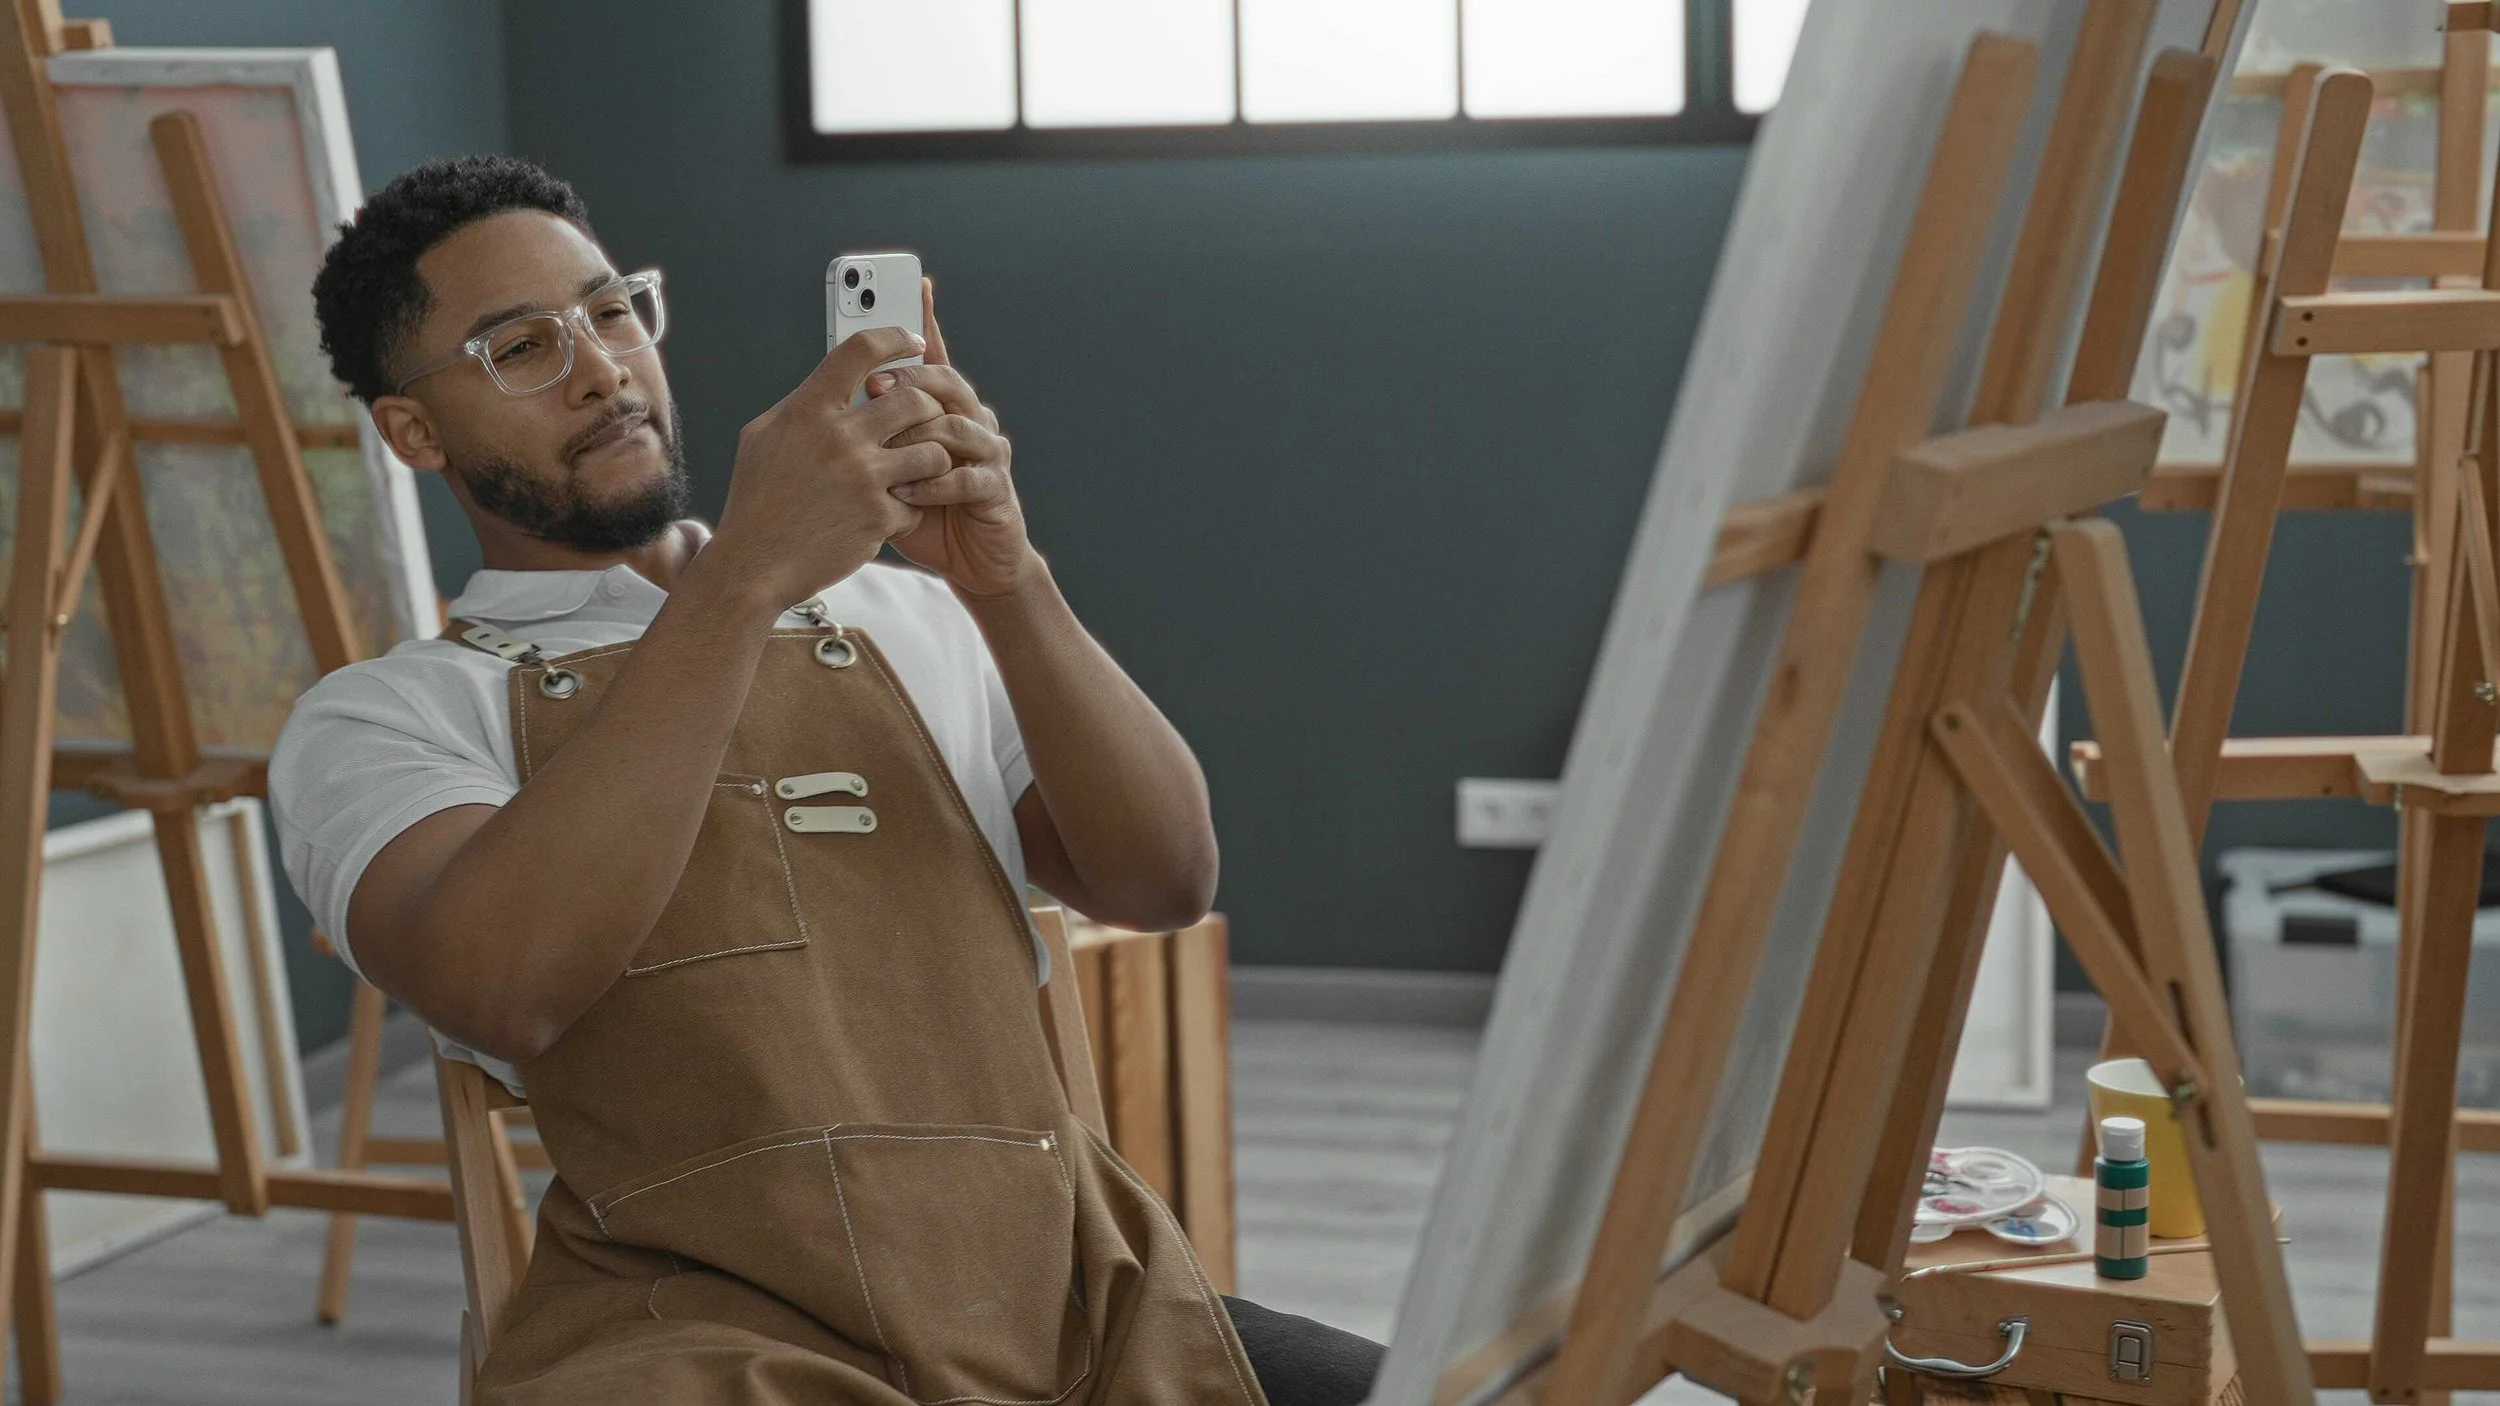
Photo by Krakenimages.com | Adobe Stock
Tip 10: Photograph Your Painting in Black & White
This might be the most important lesson you can learn as an oil painter: understanding value versus color. Most masterpieces aren’t tied to specific colors; they are tied to the values of those colors and how they work within the painting. If you are a portrait artist, this is more of a rule than a tip. You can paint with nearly any color combination—purple and green, or blue and yellow. As long as the values of the piece make sense within the lighting and shadow of the subject, your painting will turn out strong. A great way to practice light and dark values is by studying ‘Rembrandt Lighting.’ It’s a technique that uses a single light source to create a dramatic portrait. Understanding value versus color will increase your confidence not just with oil painting, but painting in general.
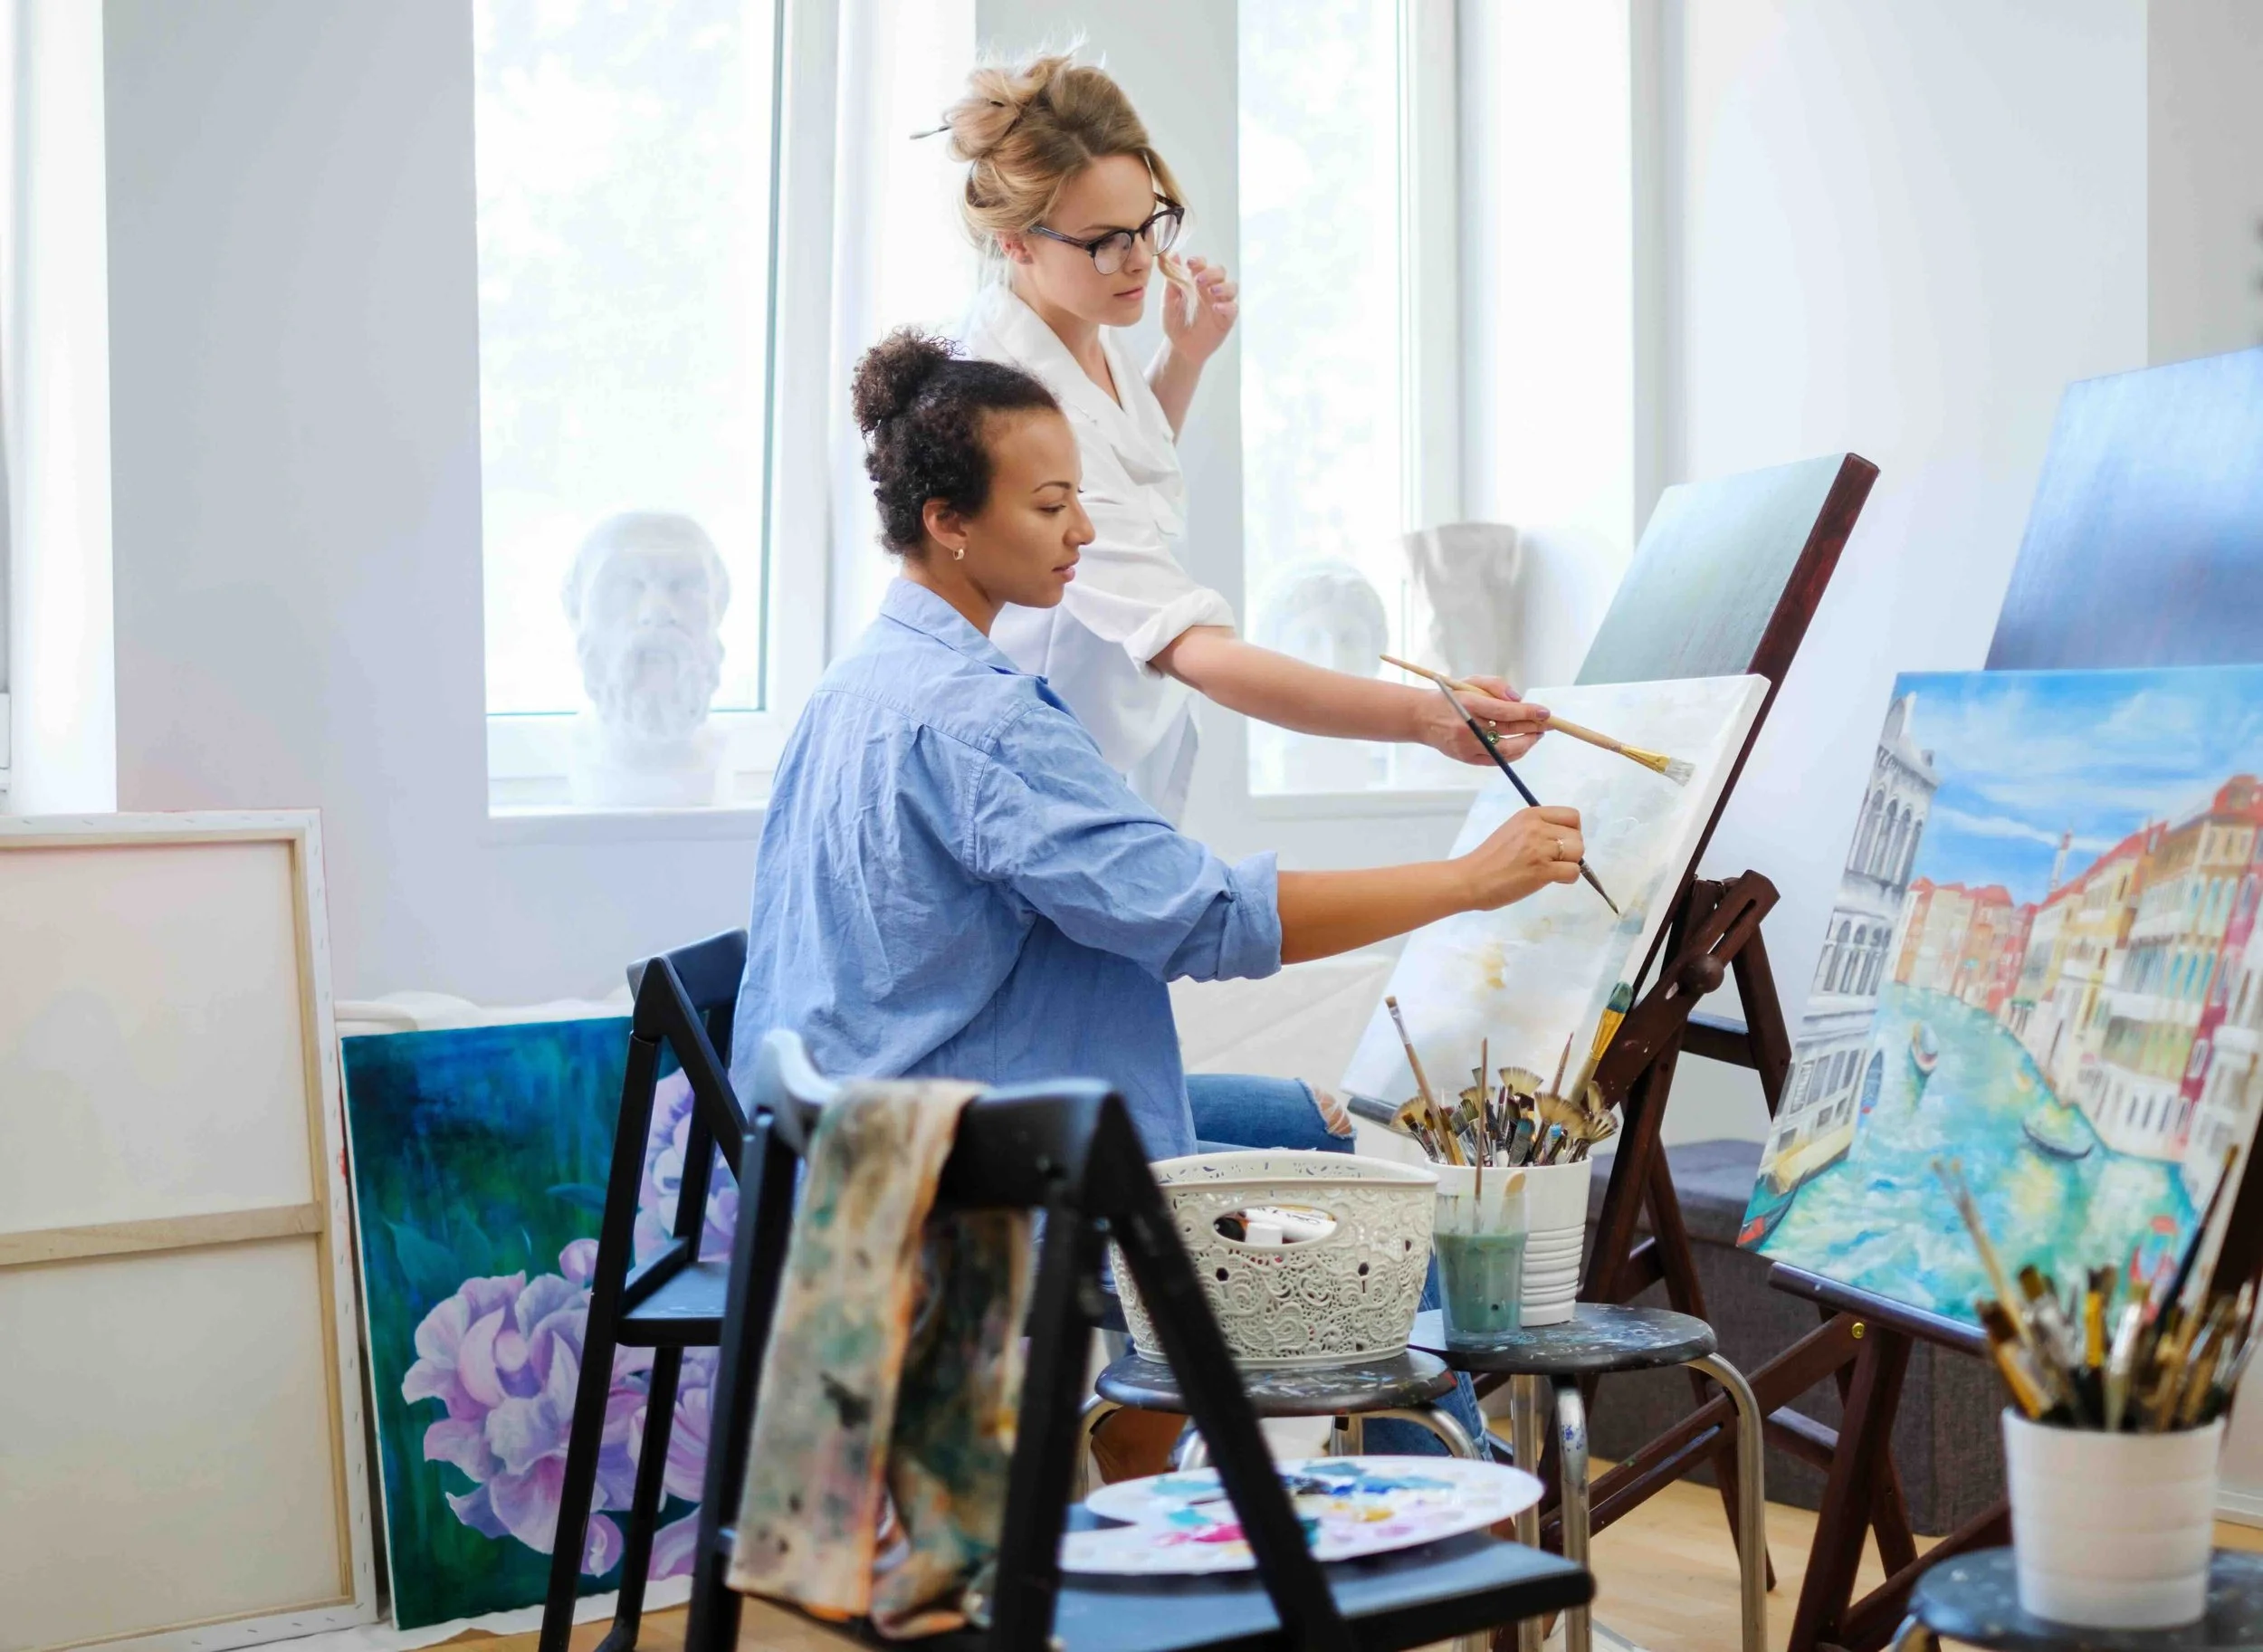
Photo by Nejron Photo | Adobe Stock
Last Thoughts
Our goal is to make it easier for you to pick up oil painting. Once you learn and apply these tips, the process starts feeling much less intimidating. Do not be afraid of the stigma that comes with oil painting, it might surprise you how approachable it becomes once you sit down and start working through it step by step. Focus on the parts that make sense to you now and build from there. Most importantly, trust your instincts and give yourself room to develop your own process. Try not to compare yourself too much to other painters, the whole point is developing your own eye, style, and way of working.
Edited by Natalie Wheeler & Marquez Rodriguez on June 1, 2026
